Creating and Managing Categories for Your Store
Creating categories is a key part of organizing and managing your products in your online store. This guide shows you how to easily create and customize product categories, helping improve the shopping experience and streamline your store management. Let’s get started!
1. Creating a New Category
Section titled “1. Creating a New Category”- Go to Admin > Category > Manage Categories
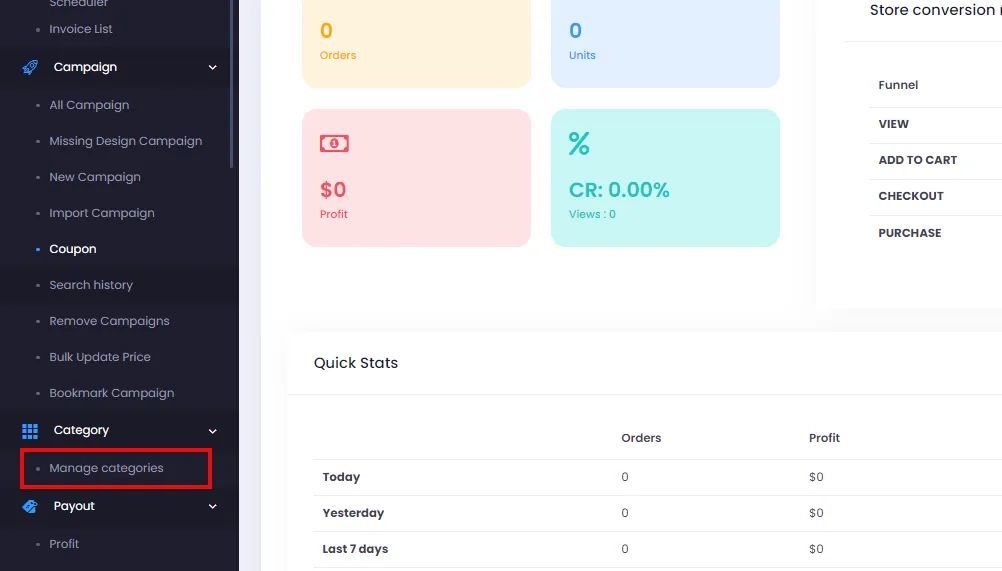
- On the category management page, click the “Add New” button to go to the new category creation page.

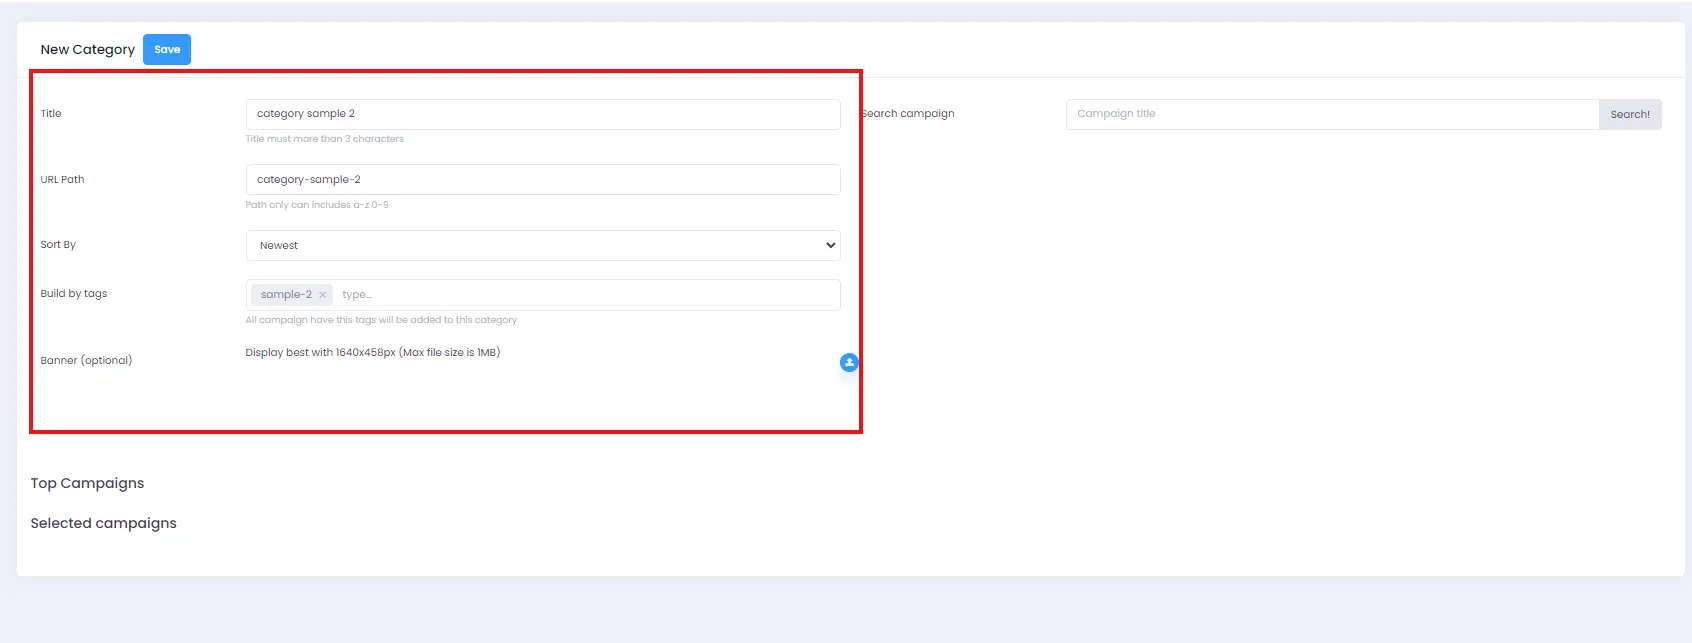
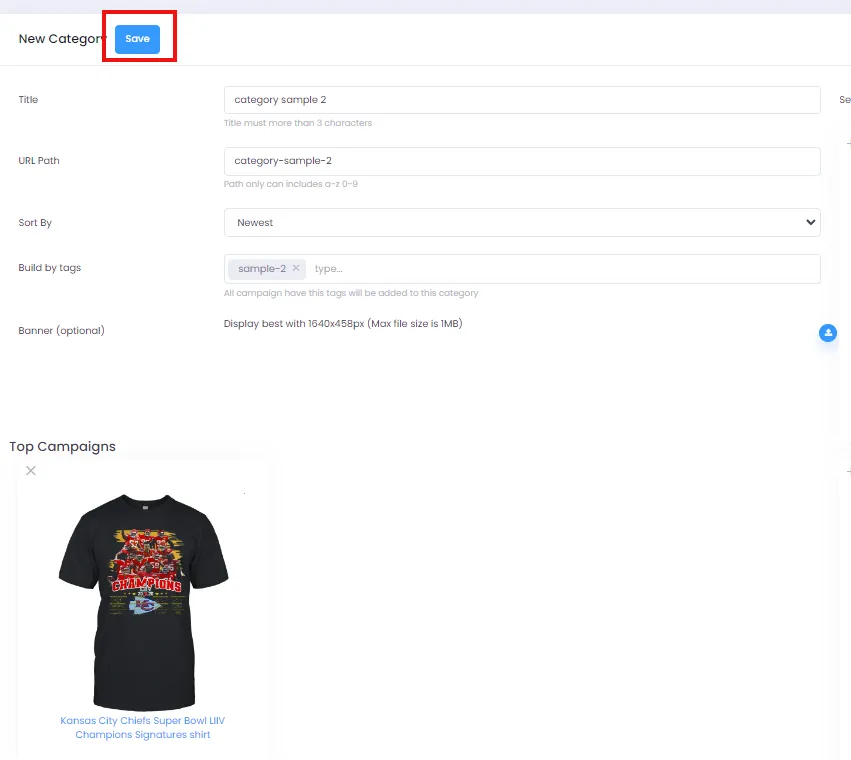
- The new category page lets you enter basic information for your category, including:
- Category name (“Title”)
- URL path (“URL Path”)
- Sort order (“Sort By”)
- Build by tags (“Build by Tags” - optional)
- Banner (optional)
- You can also search for and add product campaigns to your category. To do this, enter a keyword in the search box and click “Search”. A list of matching campaigns will appear.
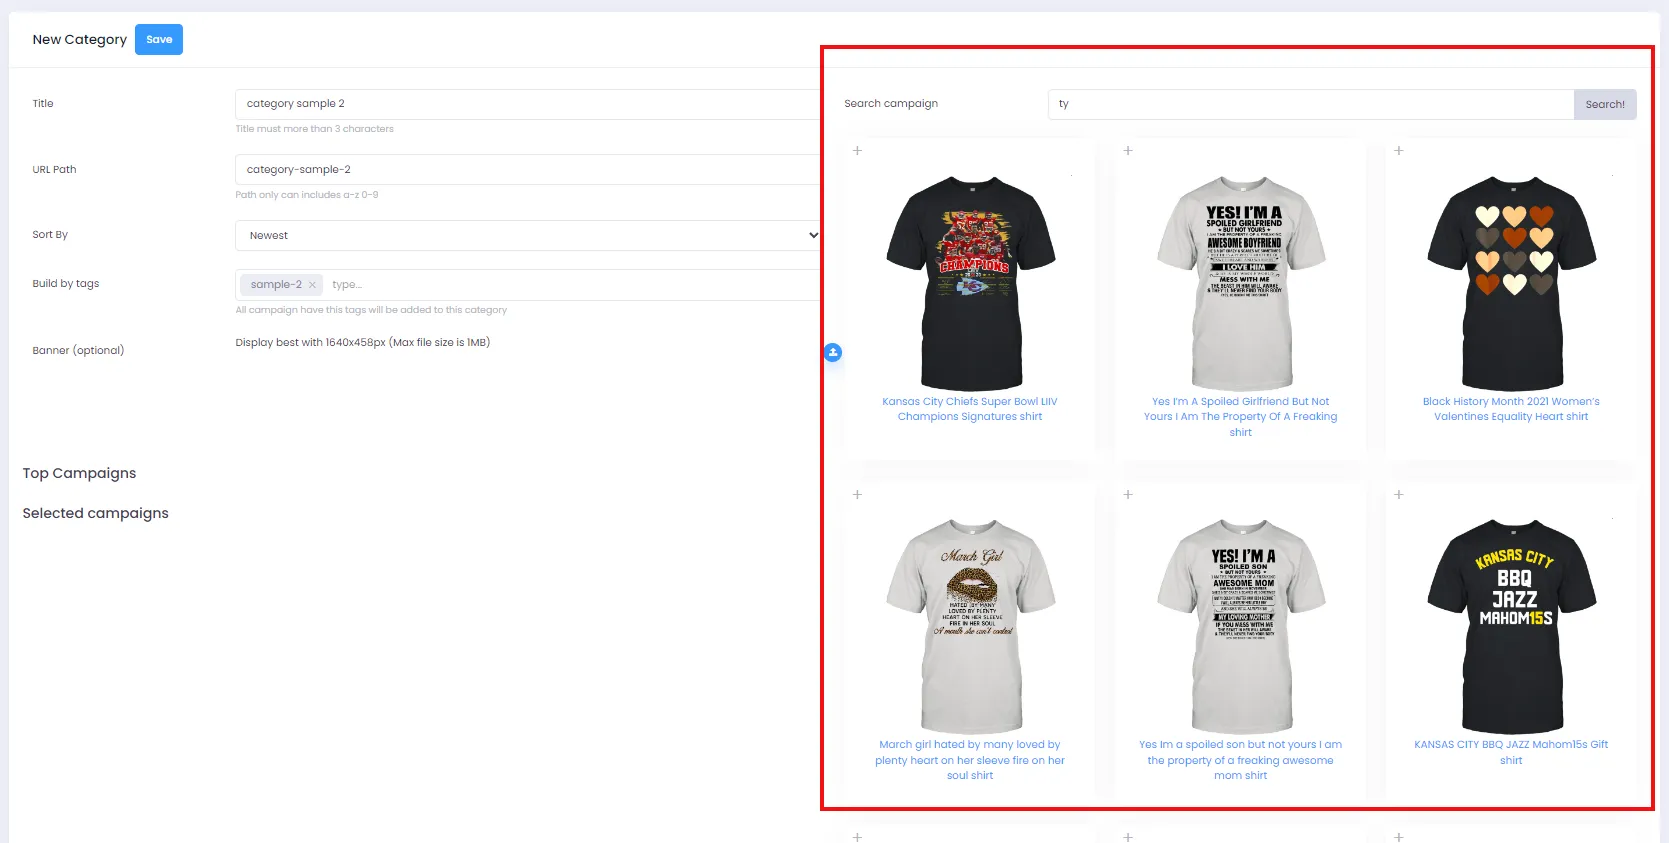
- To add a campaign to the category, click the “Add” icon. You can add multiple campaigns at once.
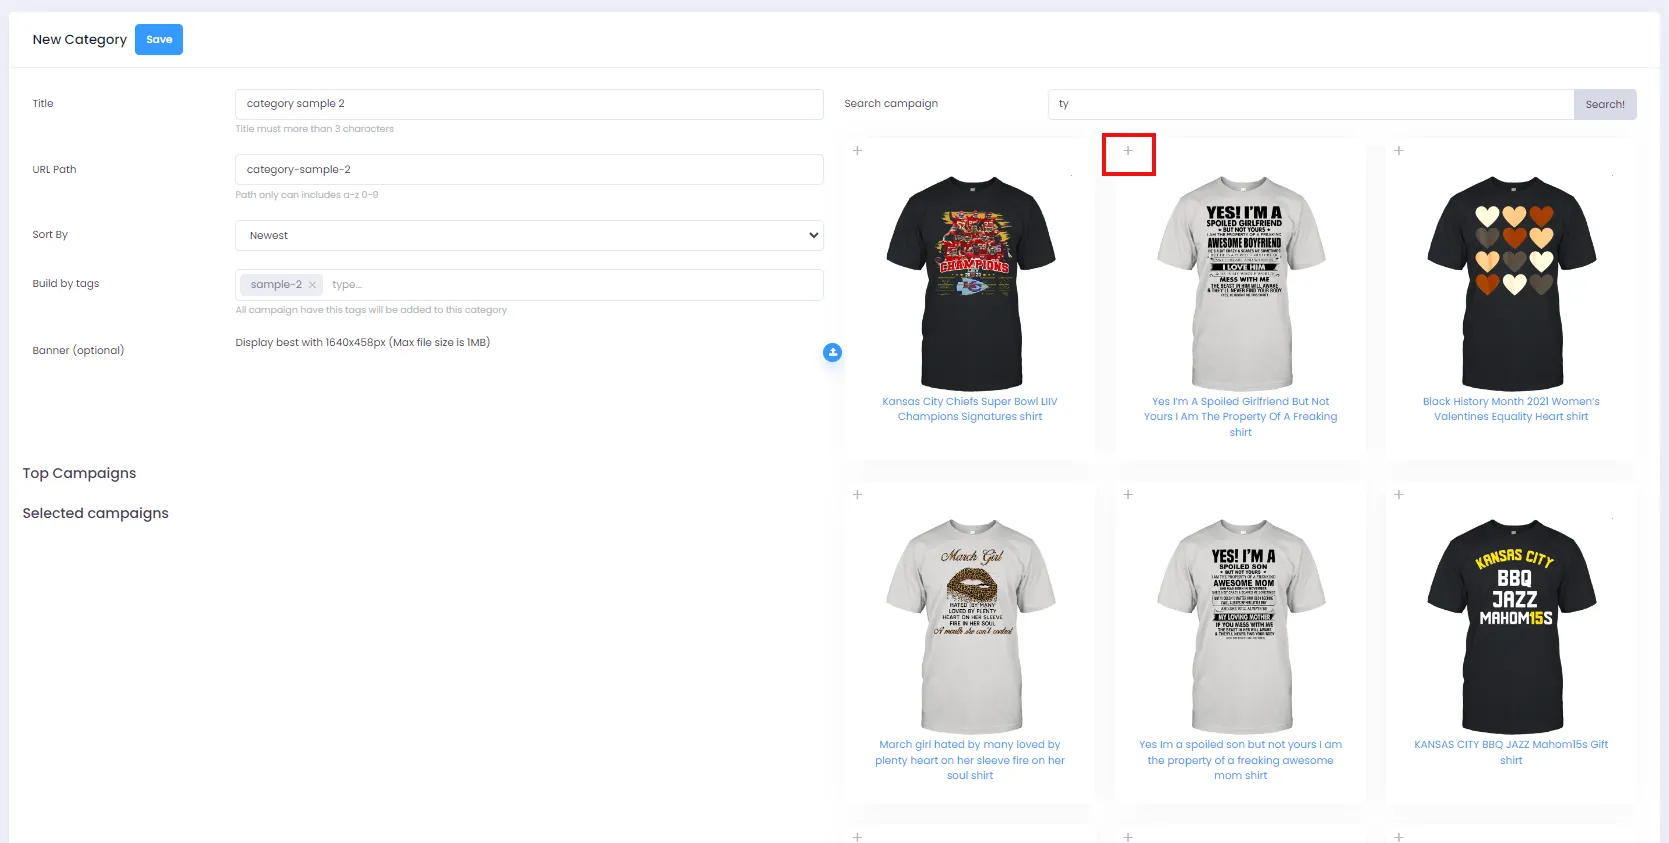
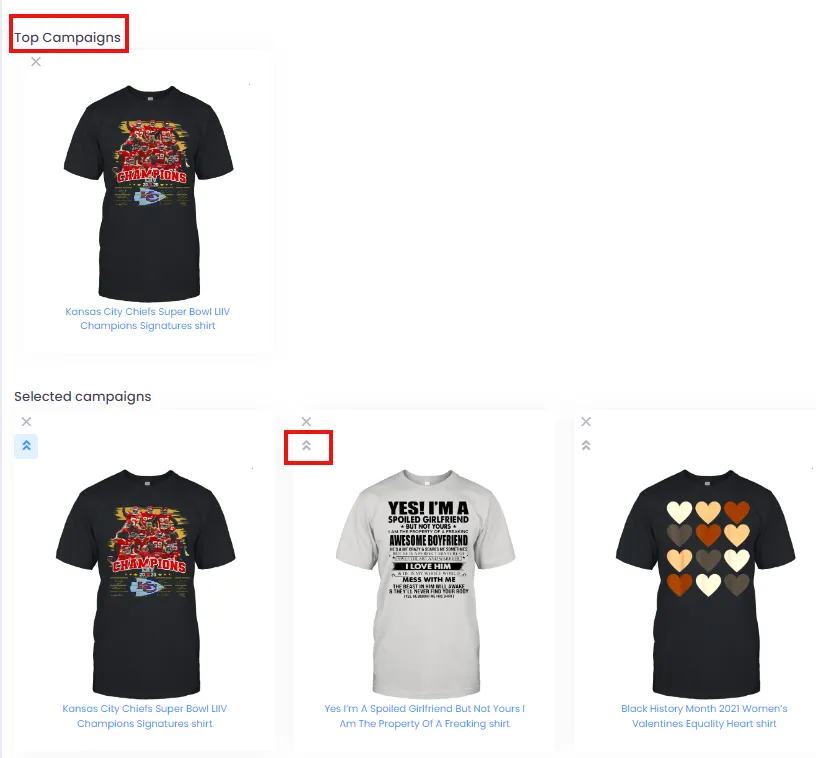
- You can also prioritize campaigns by clicking the icon shown to move a campaign into the “Top Campaigns” section.
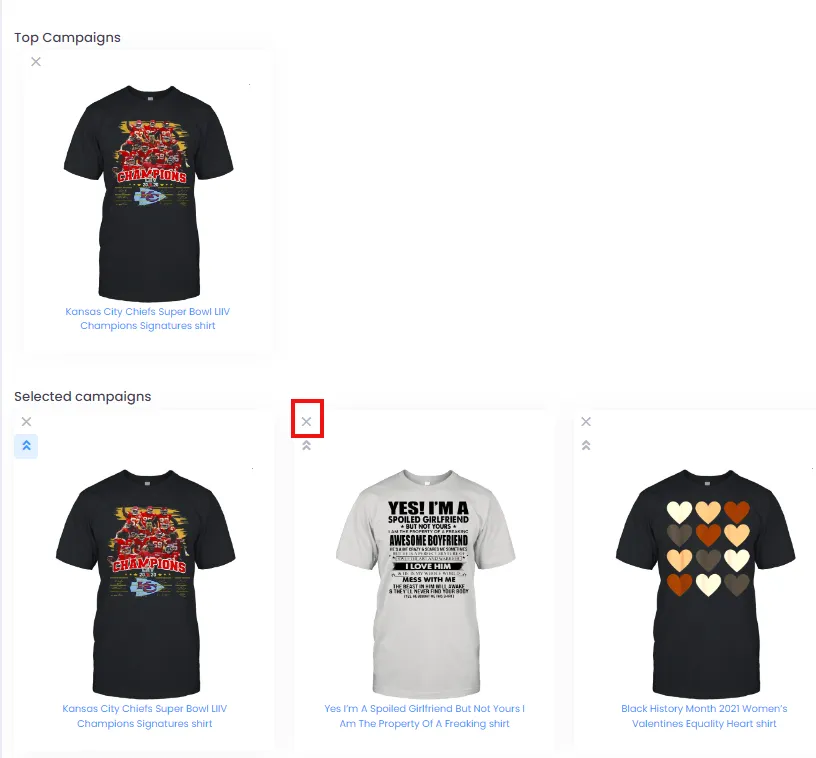
- To remove a campaign from the category, click the “X” icon in the “Selected campaigns” area.
- Finally, click the “Save” button to finish creating your category.
2. Editing a Category
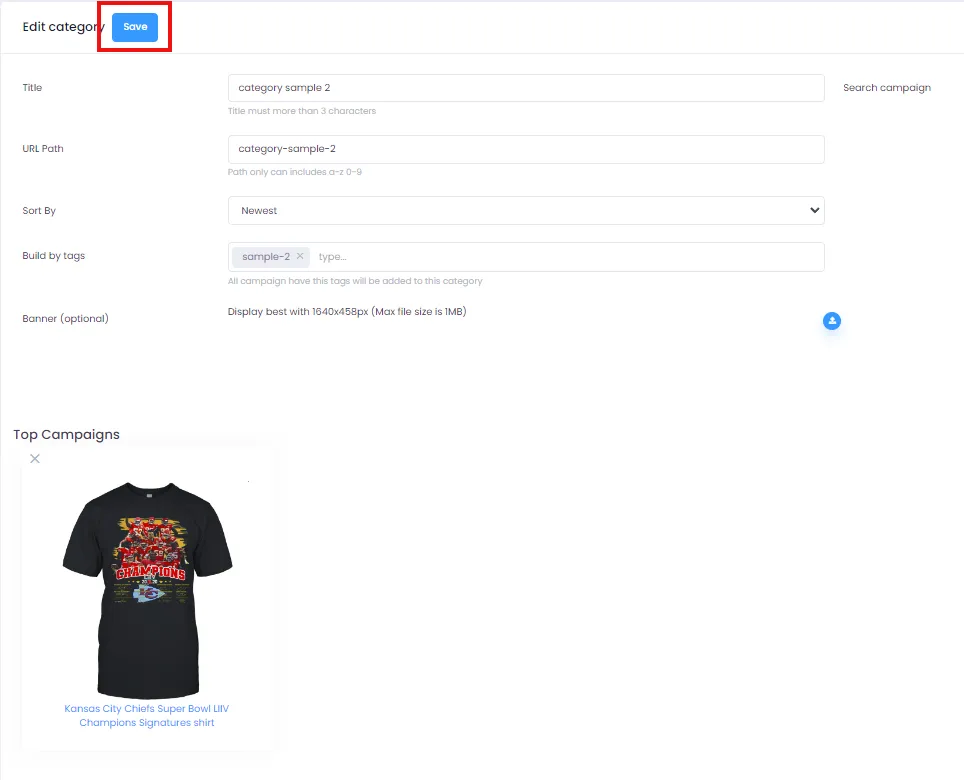
Section titled “2. Editing a Category”- On the category management page, click “Edit” to modify an existing category.

- On the edit page, you can add, remove, or update campaigns just like when creating a new category. Click “Save” when you’re done.
3. Deleting a Category
Section titled “3. Deleting a Category”On the category management page, click “Delete” to remove a category.

With these basic instructions, you now have the tools to create and manage your store’s categories. Product categories are a powerful tool for optimizing your customers’ shopping experience and keeping your store well-organized. Good luck growing your online store!