Creating a New Campaign with Mockup Files
⚠️ NOTE: This feature is only available on select stores as part of a trial.
Creating campaigns with mockup files allows sellers to upload their own custom-designed mockups, helping make product images more diverse and appealing.
Article Contents
- Introduction
- Choosing a product type for your campaign
- Uploading designs for your campaign
- Editing campaign details and launching
1. Introduction
Section titled “1. Introduction”- To enable this feature, please contact us via the PODSACH LLC fanpage for further assistance.
- Prepare your front and back mockup files in advance.
- Currently, PODSach only supports mockup-based campaign creation for 3D products.
2. Choosing a Product Type for Your Campaign
Section titled “2. Choosing a Product Type for Your Campaign”To select a product type for your campaign, follow these steps:
-
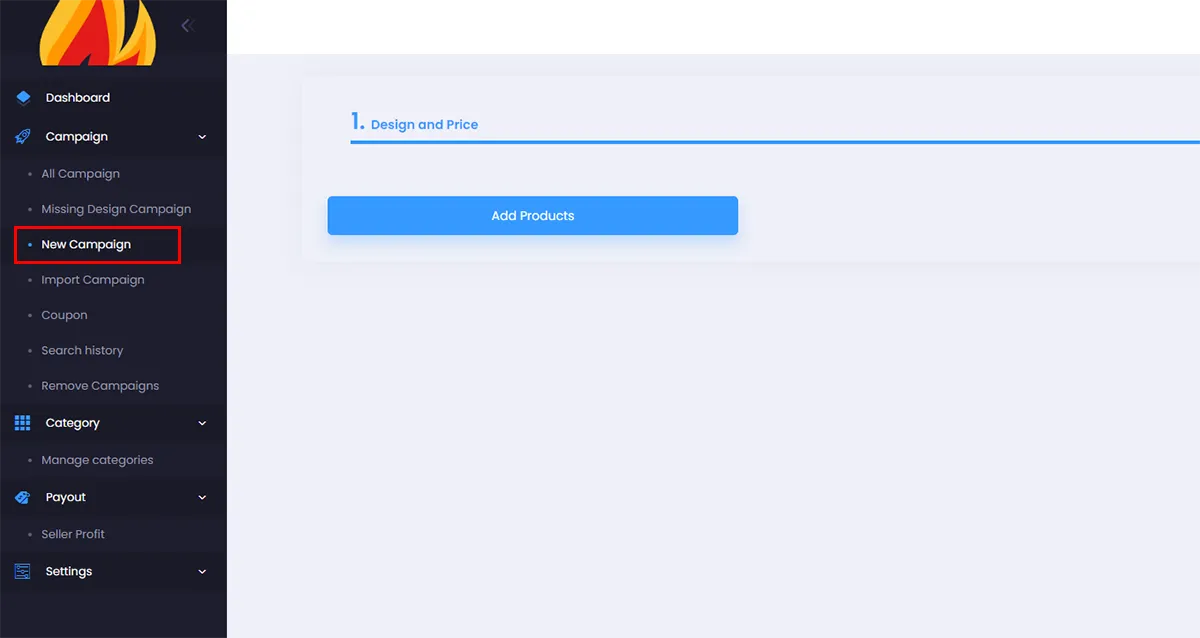
From the admin page, click New Campaign.
-
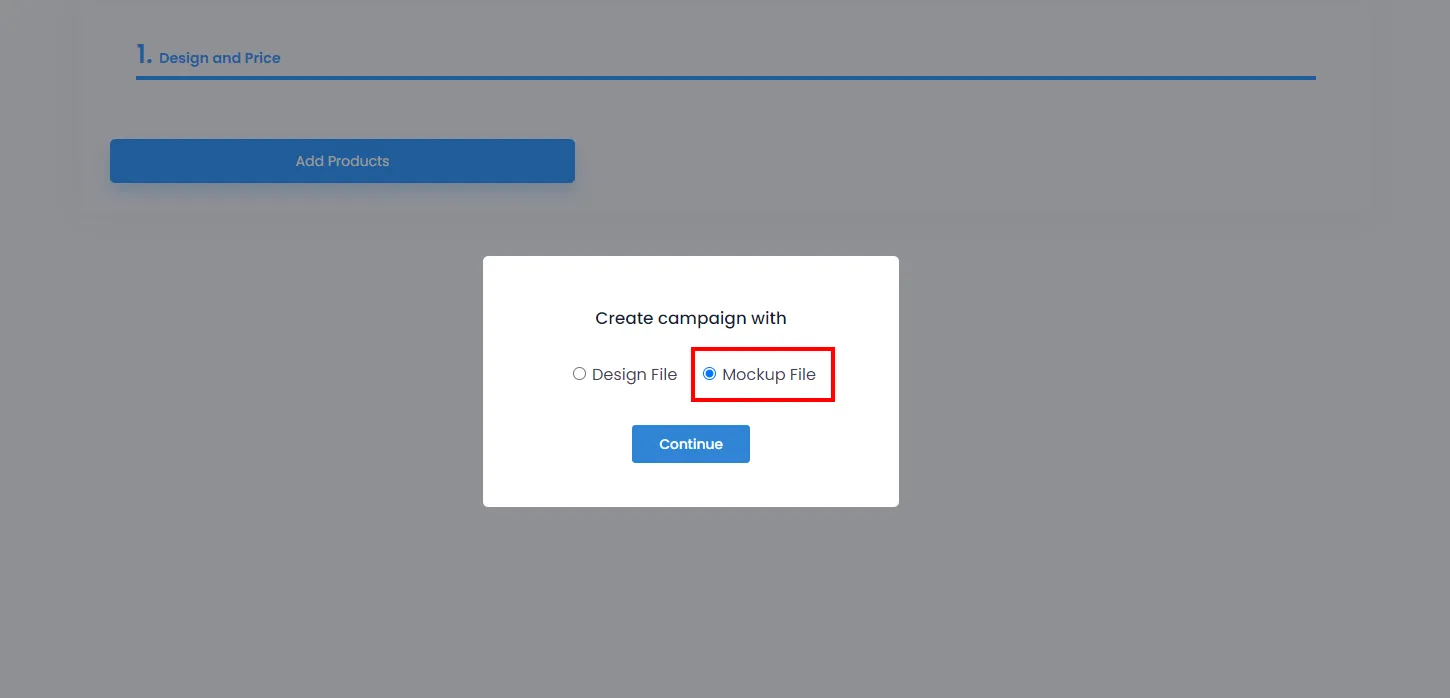
A dialog will appear for you to choose the design type. Select Mockup File, then click Continue to proceed to the next step.
(If you want to create a campaign with a regular design file, select Design File in the dialog and click Continue. Then follow the standard campaign creation process. You can refer to this article for creating campaigns with design files).
-
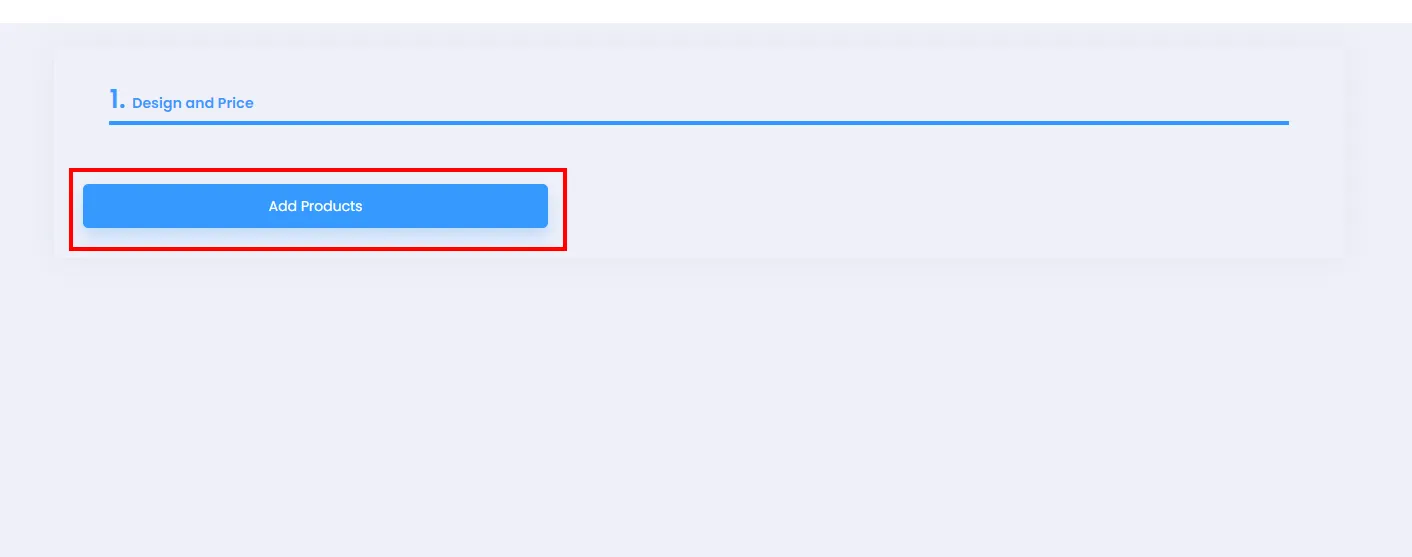
Then click Add Products to open the product selection dialog.
-
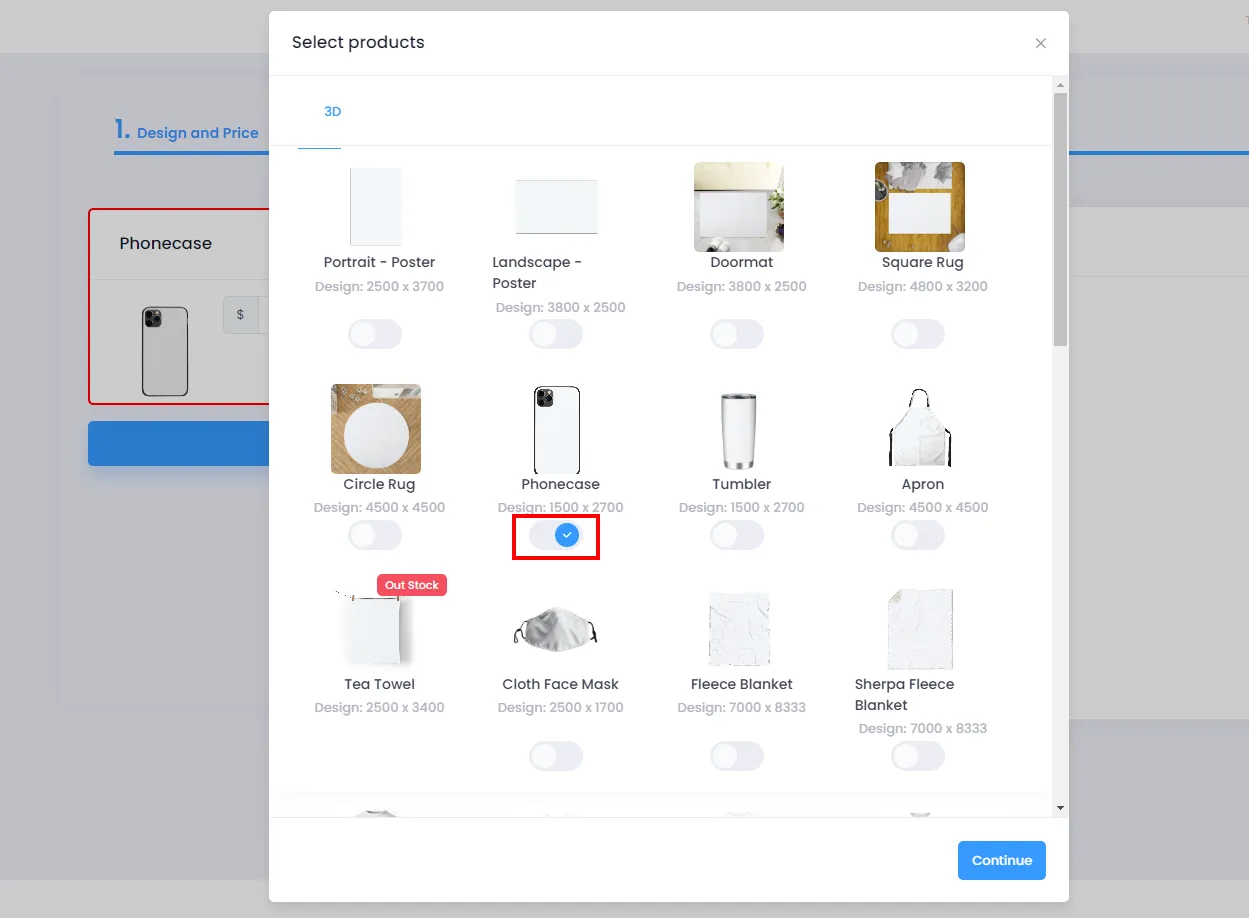
In the dialog, you can browse the 3D products that PODSach supports for mockup file uploads. You can select multiple products for your campaign by toggling the switches as shown.
-
Click Continue to close the dialog and finalize your product selection.
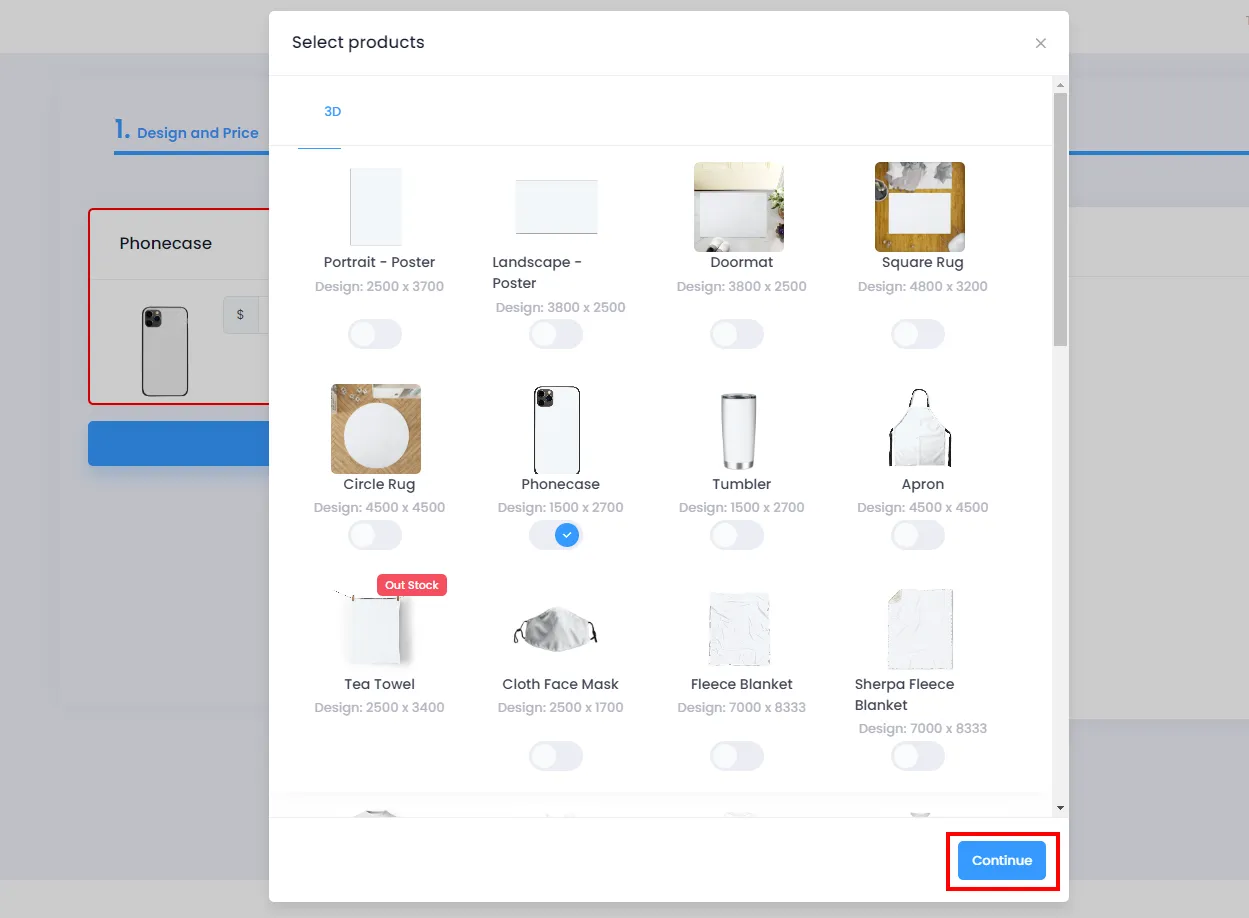
💡 Tip: You can reopen this dialog to update or change your campaign’s products by clicking Add Products as shown below.
3. Uploading Designs for Your Campaign
Section titled “3. Uploading Designs for Your Campaign”-
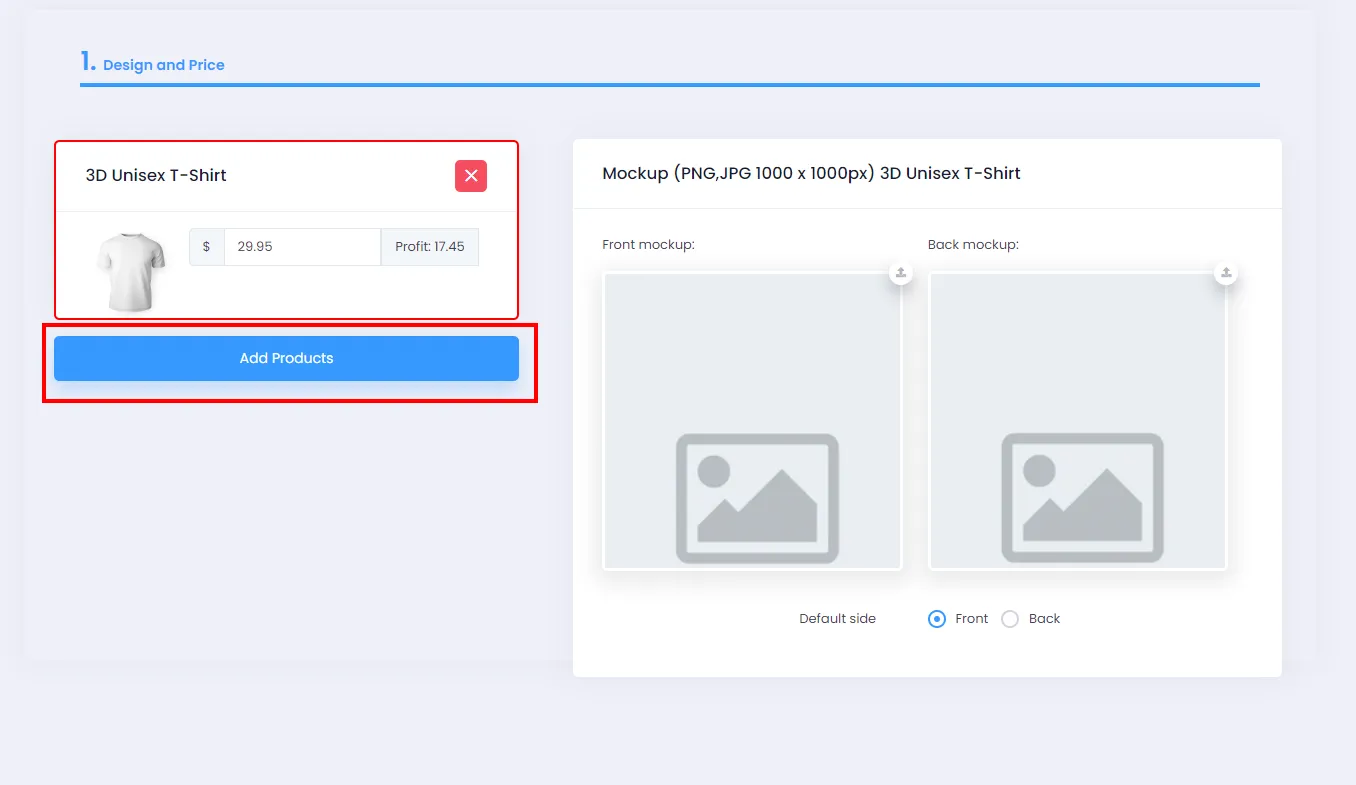
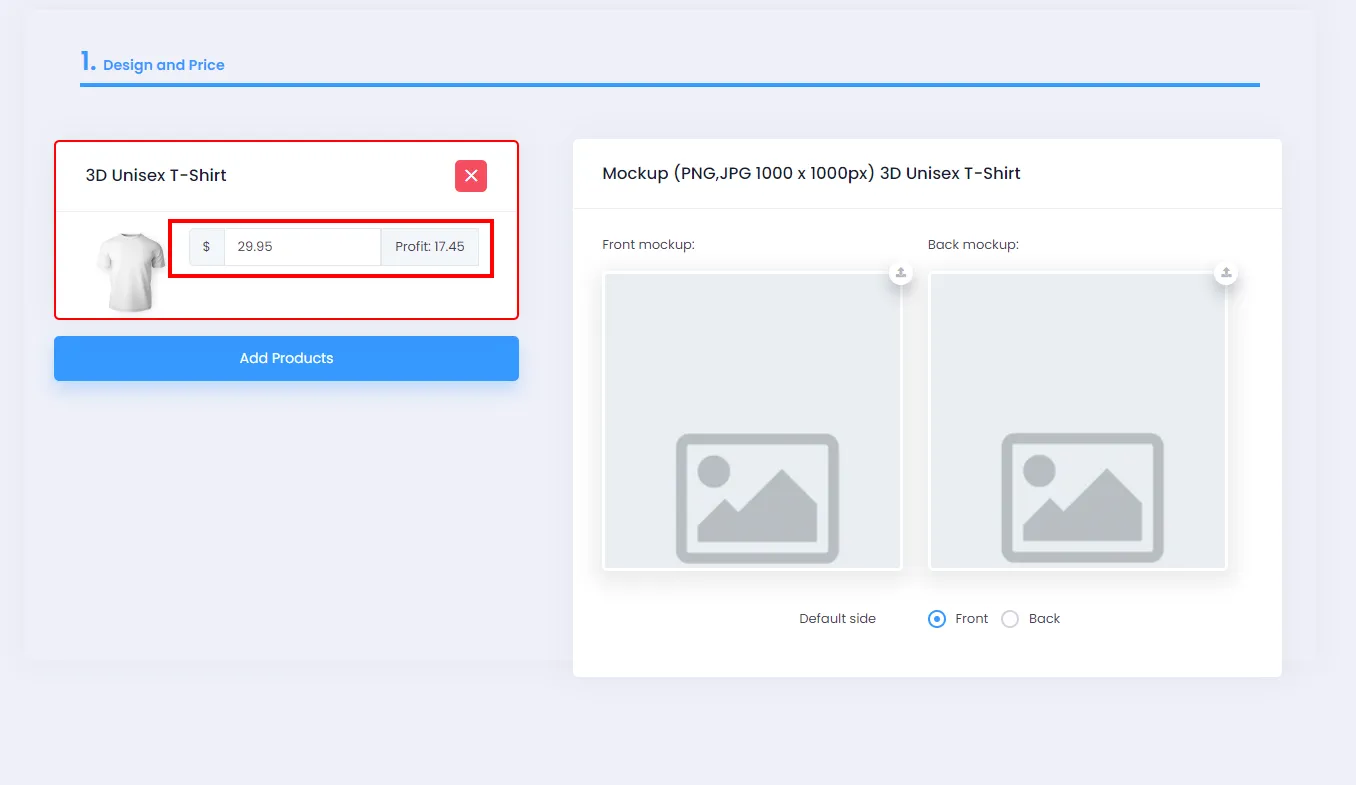
After completing the steps in section 2, the system will display all the products you selected. Here you can adjust the product price in the price field.
- ⚠️ Note: The product price cannot be lower than the minimum product price.
-
Next, upload your design by clicking the upload button (as shown) for the front, back, or both sides.
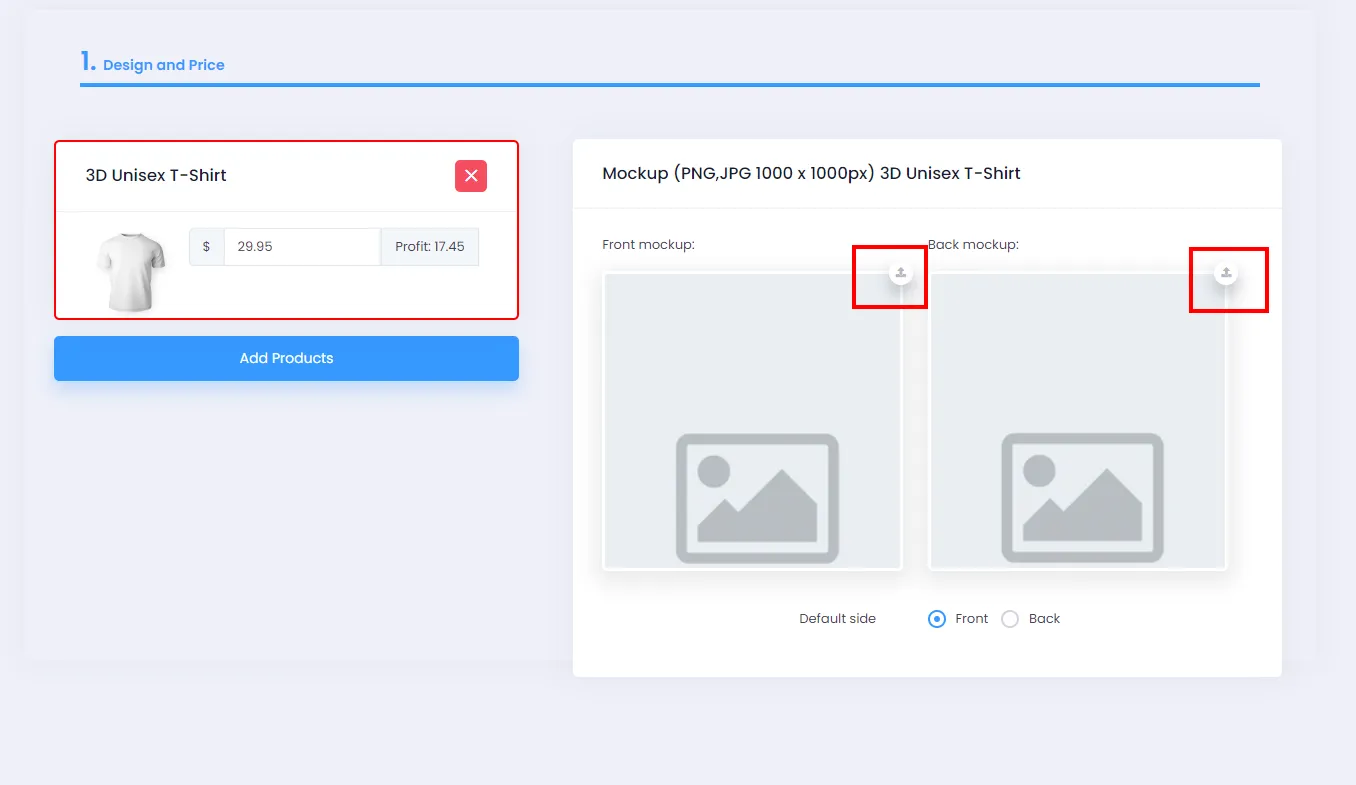
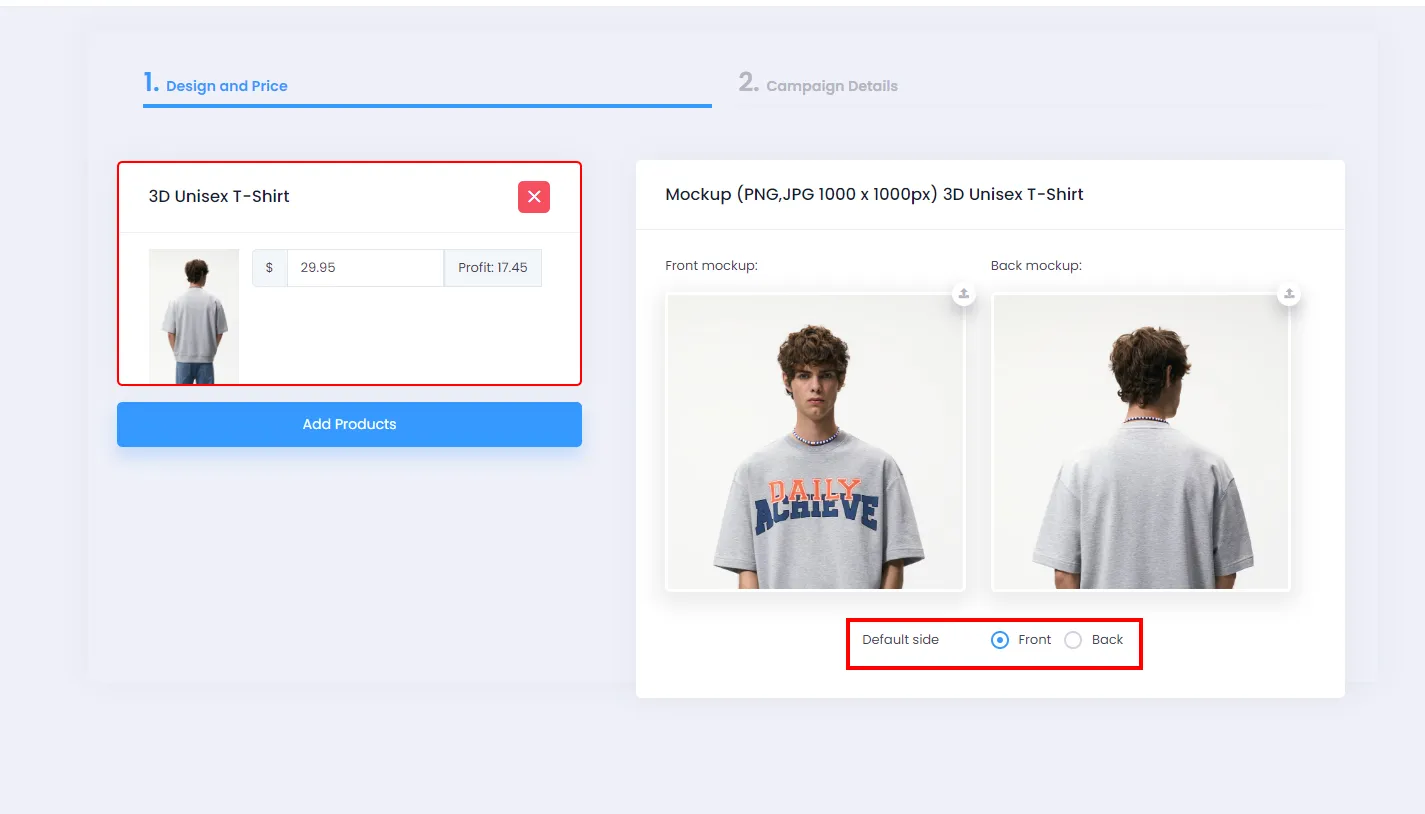
-
Click the Front or Back button to set the default side displayed on your store. You can also do this step in Campaign Details.
4. Editing Campaign Details and Launching
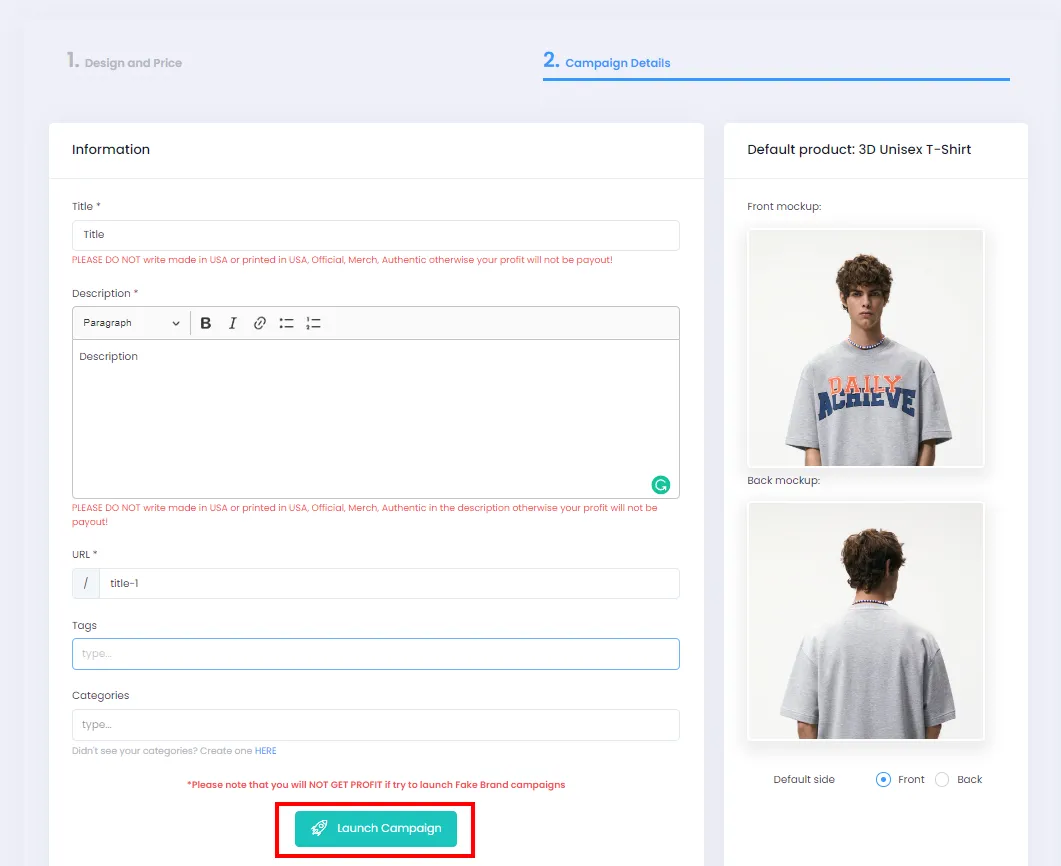
Section titled “4. Editing Campaign Details and Launching”- After uploading your design, click Campaign Details to add a title, description, tags/categories, and more for your campaign.
- ⚠️ Note: Campaign Details only appears after you have successfully uploaded a design file.
| Field | Detailed Instructions |
|---|---|
| Title | Add your campaign title here. |
| Description | The system has pre-filled descriptions for your campaign. However, you can add other descriptions and they will appear in your campaign’s description section. |
| URL | The campaign URL is auto-filled after you enter the title, and you can edit it as needed. |
| Tags | You can add one or more tags to your campaign. |
| Categories | You can add one or more categories to your campaign. ⚠️ Note: The category must already exist in your store. Refer to the following article to learn how to create categories. |
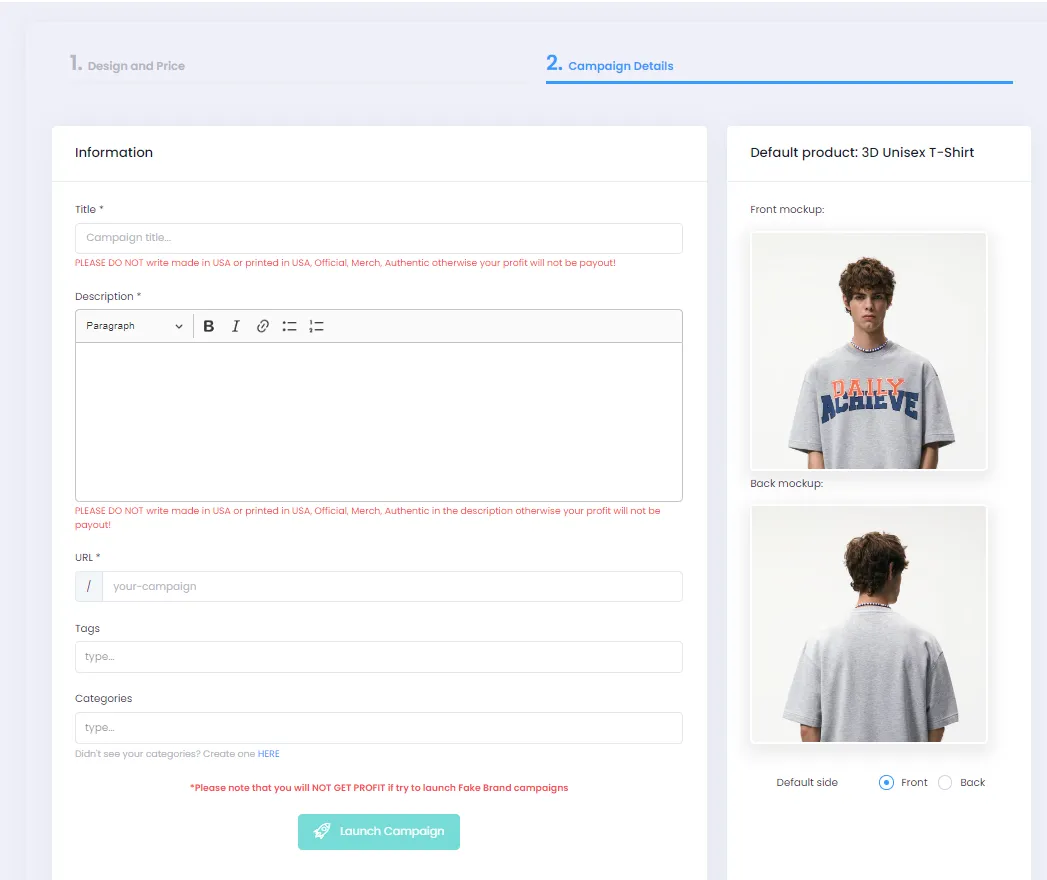
-
Once you’ve filled in all the information, click Launch Campaign for the system to start creating your campaign.