Creating Sitemaps
A sitemap is a key part of optimizing your website for search engines and improving user experience. It helps search engines understand your site structure and find content more efficiently. This guide walks you through creating a sitemap for your store.
1. Create a Sub-Sitemap
Section titled “1. Create a Sub-Sitemap”- From the Admin page, click the Sitemaps menu to access your Sitemap management page.
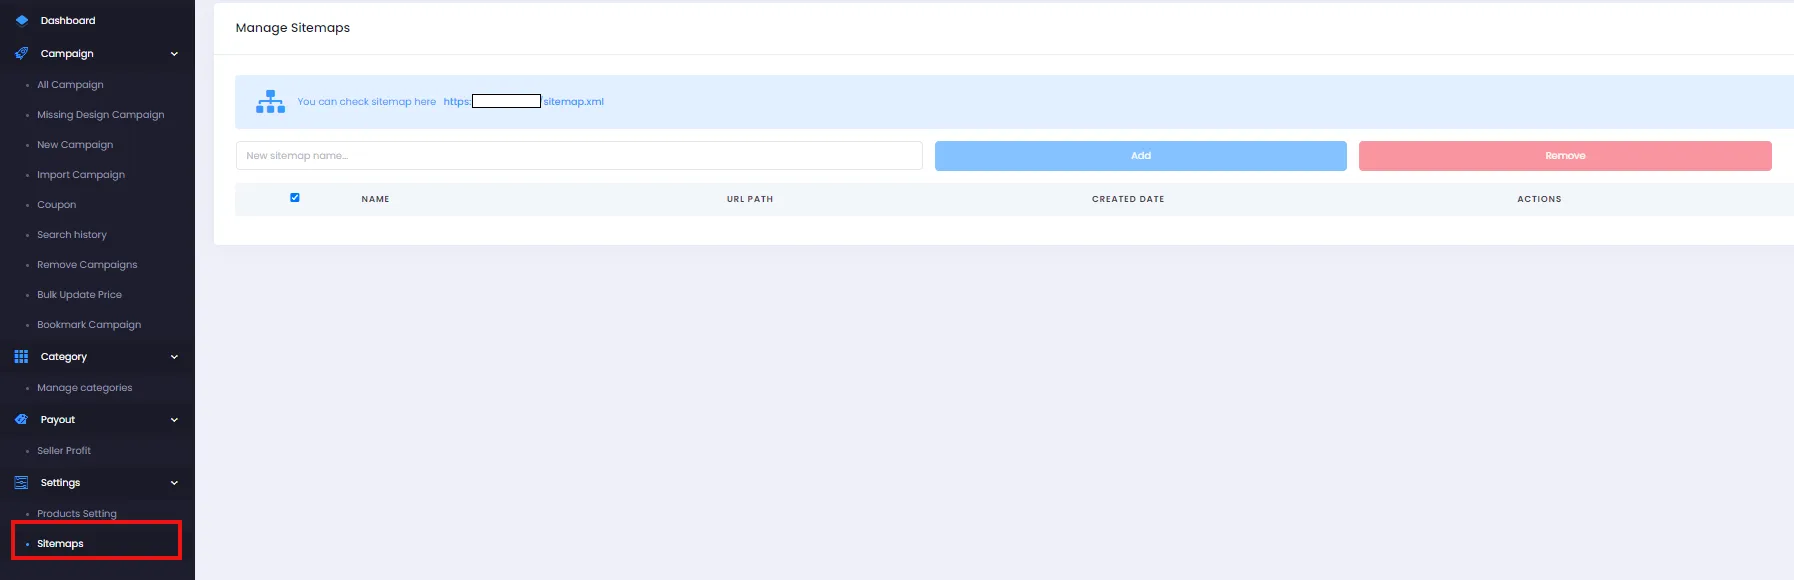
- Enter a name for your sub-sitemap, then click Add to create it. The sub-sitemap will be added successfully as shown.

- You can add multiple sub-sitemaps or remove them by checking the checkbox and clicking Remove.

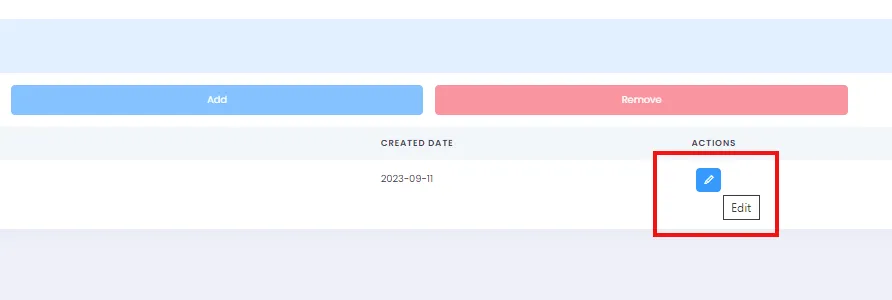
- To access the Sitemap URLs page for a sub-sitemap, click the Edit icon (as shown).
The Sitemap URLs page will appear as follows:
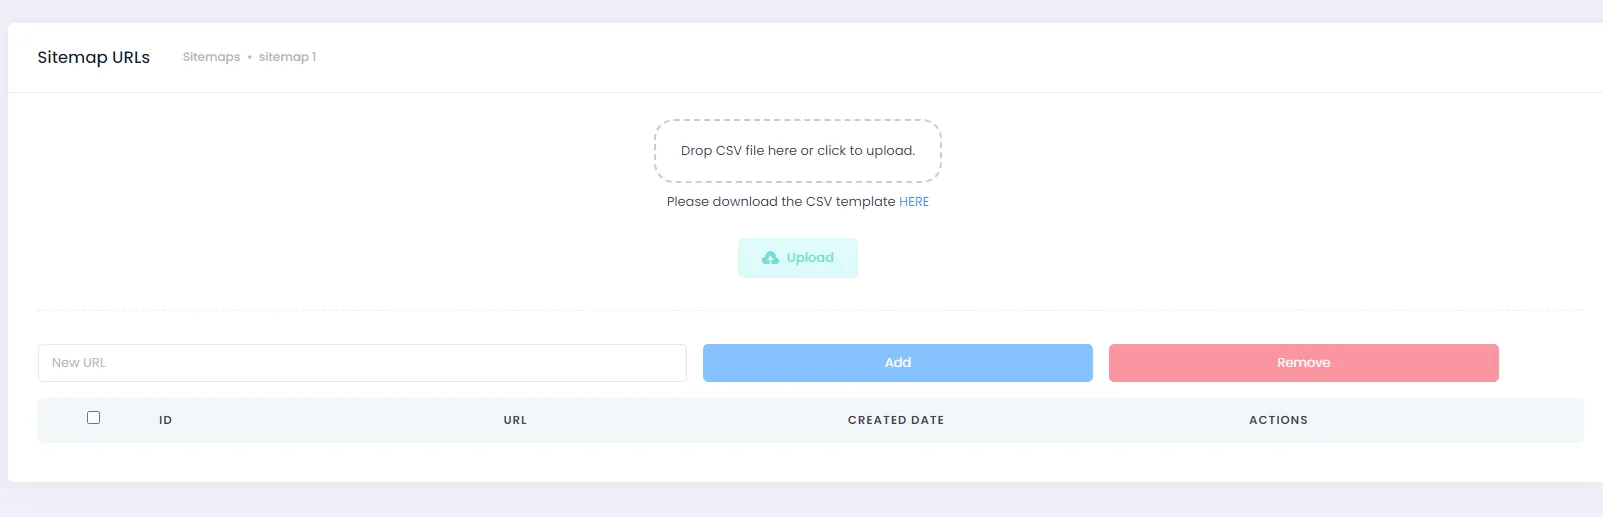
2. Add URLs to a Sub-Sitemap
Section titled “2. Add URLs to a Sub-Sitemap”- On the Sitemap URLs page, you can add URLs using the following formats:
- Campaigns:
https://yourdomain.com/campaign/campaign-nameorcampaign/campaign-nameorcampaign-name - Categories:
https://yourdomain.com/category/category-nameorcategory/category-name
Click Add and the system will automatically add the URLs with your domain to the sub-sitemap.
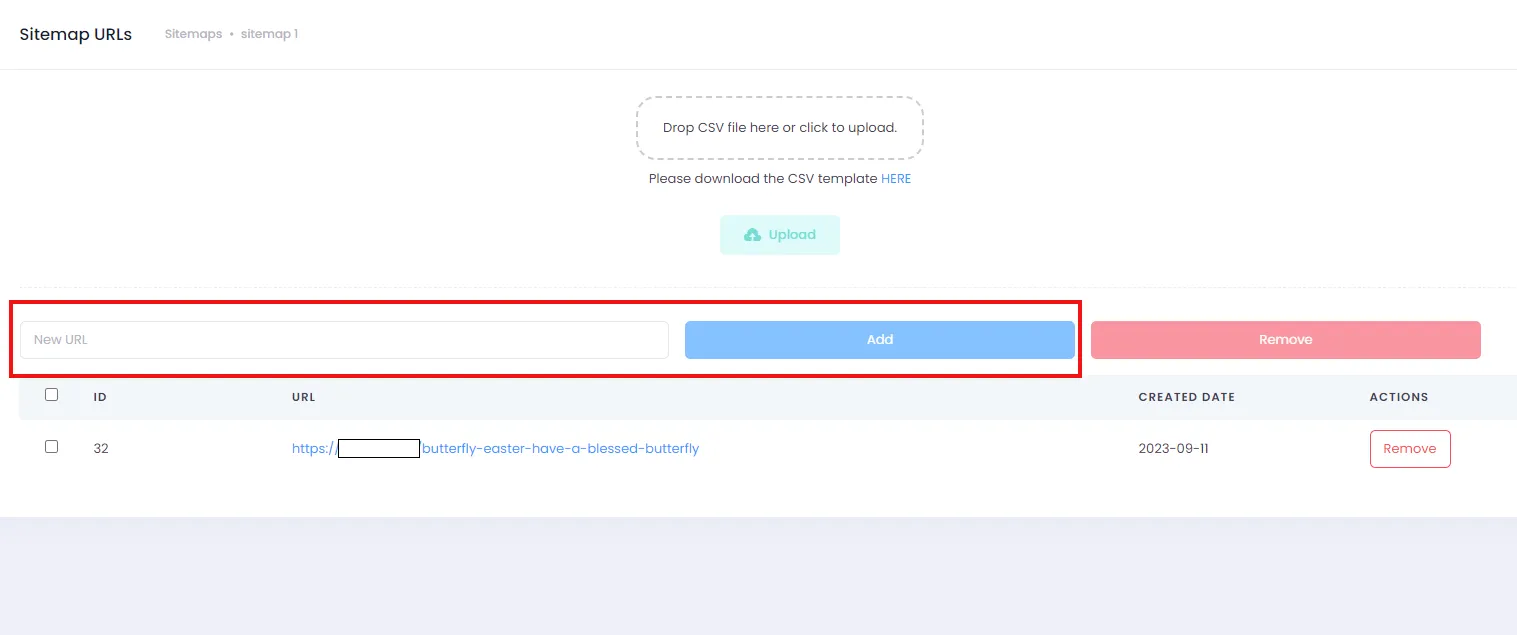
- You can remove URLs by clicking either of the two Remove buttons.
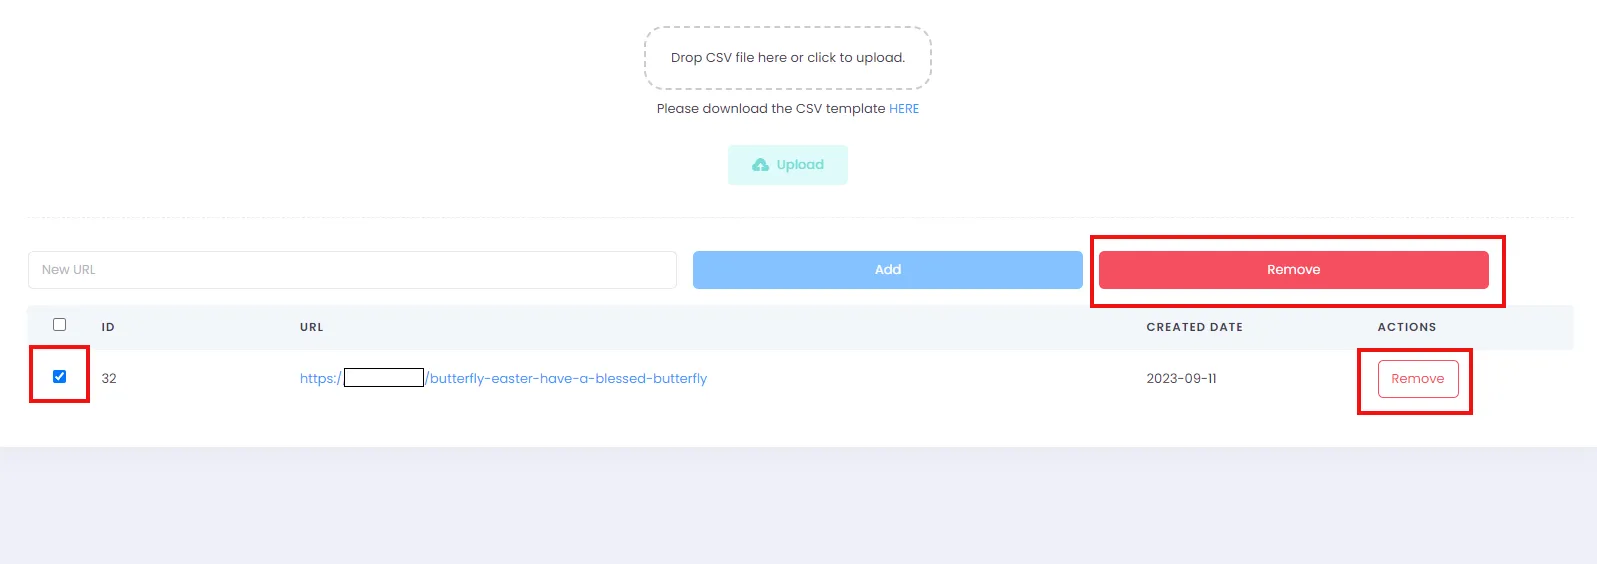
- You can also import URLs via CSV file. Download the template we’ve provided, enter URLs in the suggested format above, and click Upload to import.

3. Main Sitemap
Section titled “3. Main Sitemap”You can check the main sitemap by going back to the sitemap management page. Click the link as shown to review the main sitemap.
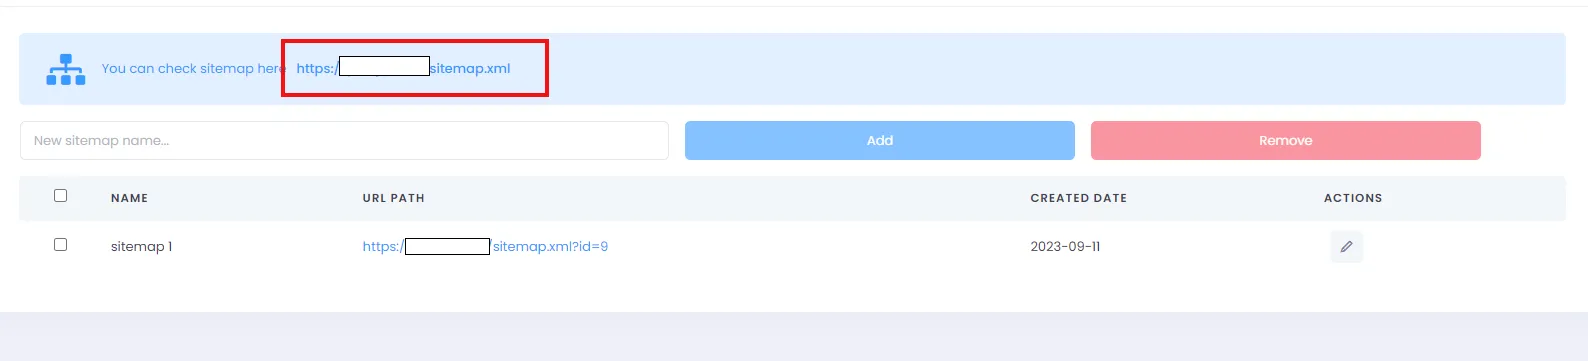
Note: The main sitemap only exists when at least one sub-sitemap has been created and that sub-sitemap has at least one URL added.
Creating a sitemap for your website is an important step in SEO optimization and ensuring your site is found efficiently by search engines. With the available sitemap tools, you can accomplish this task easily and quickly. We wish you the best in growing your store and having a great experience on our platform.