Using Storefront's Categories and Storefront's Menus
1. Storefront’s Categories
Section titled “1. Storefront’s Categories”1.1. What are Storefront’s Categories?
Section titled “1.1. What are Storefront’s Categories?”Storefront’s Categories are the categories displayed on your store’s homepage (storefront). Each category contains related campaigns.
Using Storefront’s Categories helps:
- Organize your store content into clear groups.
- Improve user experience, making it easier for visitors to find and purchase products in the categories they’re interested in.
Note: The categories shown here are only a curated selection from the categories you’ve already created.
1.2. Setting Up Storefront’s Categories
Section titled “1.2. Setting Up Storefront’s Categories”Step 1: Prepare your categories
Section titled “Step 1: Prepare your categories”Before adding to Storefront’s Categories, make sure your categories are already created. (Refer to the category creation guide at https://zii.to/category).
Step 2: Access Storefront Settings
Section titled “Step 2: Access Storefront Settings”From the “Settings” menu in your store admin, click “Storefront” to open your store’s General Settings.
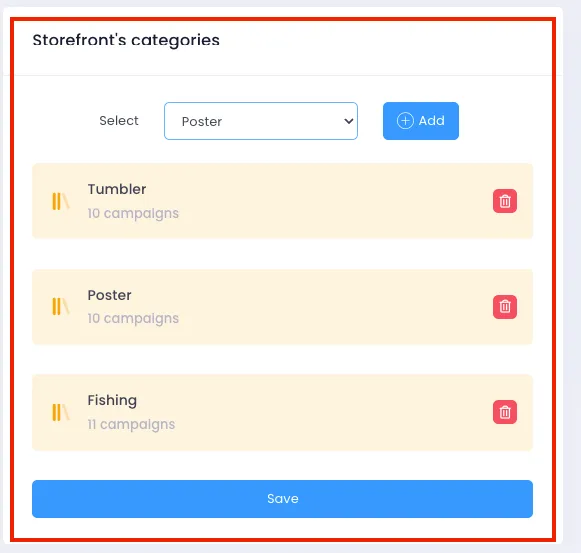
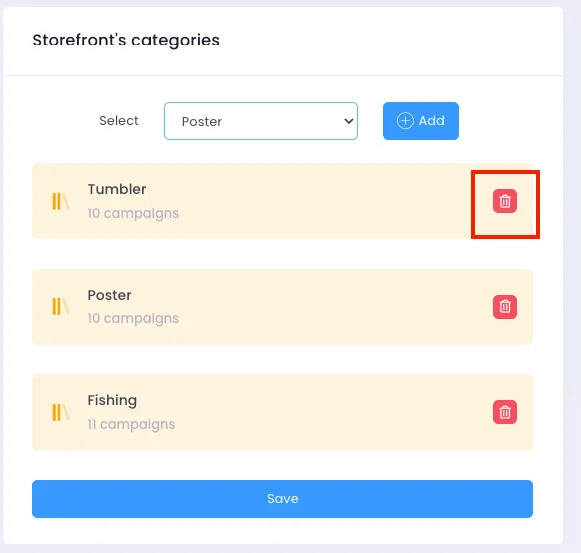
Scroll down to find the Storefront’s Categories configuration section, as shown below:
Step 3: Add categories to the Storefront
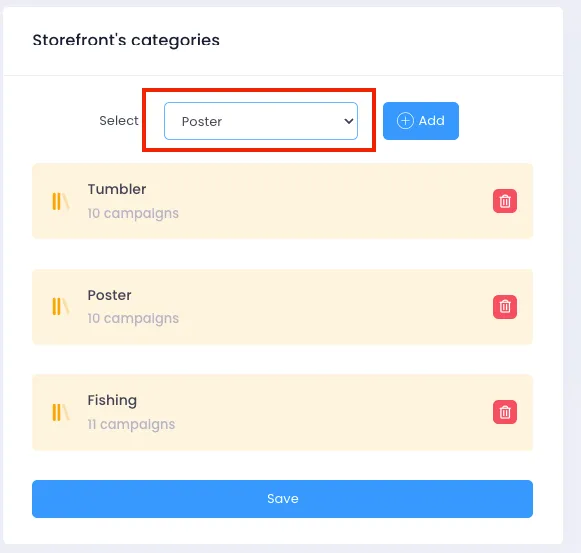
Section titled “Step 3: Add categories to the Storefront”- Click “Select category” to open the list of all categories you’ve previously created.
- Choose the category you want to display on the homepage and click “Add”.
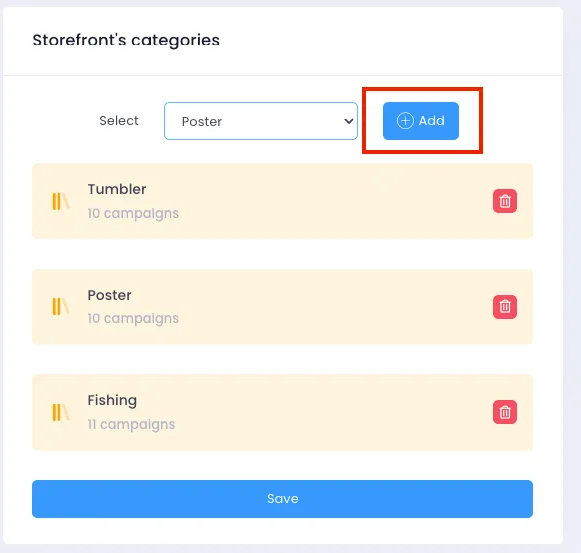
*You can add as many categories as you’d like.
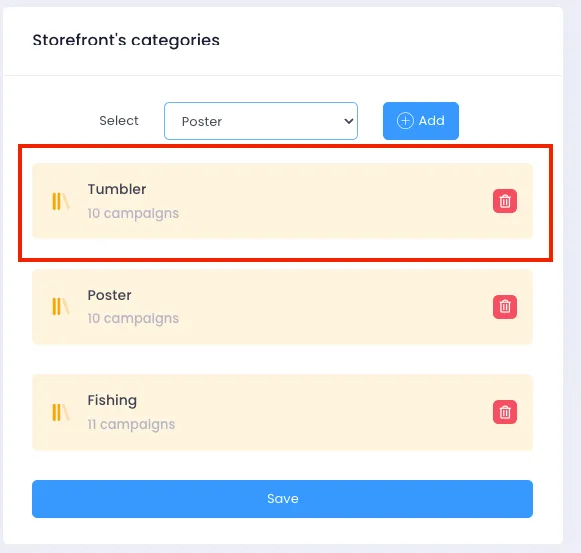
Step 4: Reorder display
Section titled “Step 4: Reorder display”To change the order of categories on the storefront: ➡️ Click, hold, and drag a category to the desired position.
Step 5: Remove a category from the Storefront
Section titled “Step 5: Remove a category from the Storefront”To remove a category from the homepage display: ➡️ Click the Delete icon next to that category.
Step 6: Save your changes
Section titled “Step 6: Save your changes”After adding, removing, or reordering categories, click the “Save” button to save your storefront configuration.

From now on, when customers visit your store homepage, they’ll see your selected categories clearly displayed, making navigation easier and more engaging.
2. Storefront’s Menus
Section titled “2. Storefront’s Menus”2.1. What are Storefront’s Menus?
Section titled “2.1. What are Storefront’s Menus?”Storefront’s Menus lets you create navigation menus for your store. These menus appear in the navigation bar on the homepage, helping customers easily find your product categories.
You can create main menus and sub-menus that link directly to your existing categories. A well-configured menu makes your store look more professional and improves the user experience.
2.2 Setting Up Storefront’s Menus
Section titled “2.2 Setting Up Storefront’s Menus”Step 1: Prepare your categories
Section titled “Step 1: Prepare your categories”Just like with Storefront’s Categories, you need to have your categories already created.
Step 2: Access Storefront’s Menus
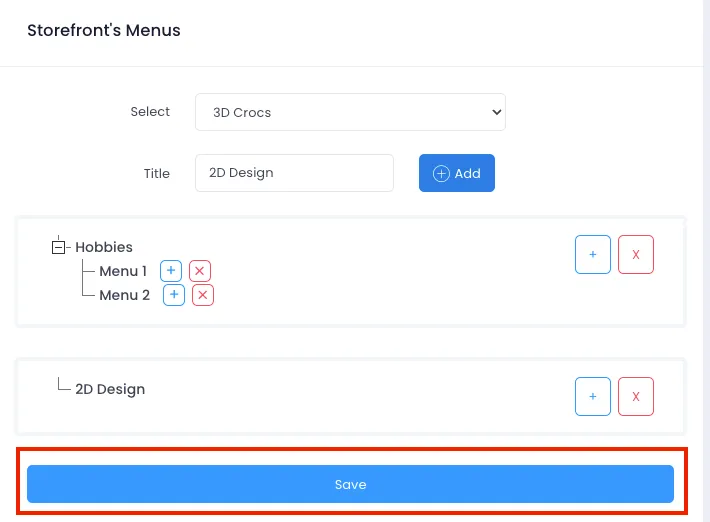
Section titled “Step 2: Access Storefront’s Menus”From your store’s General Settings, scroll down to the Storefront’s Menus section. You’ll see the menu configuration interface as shown below:
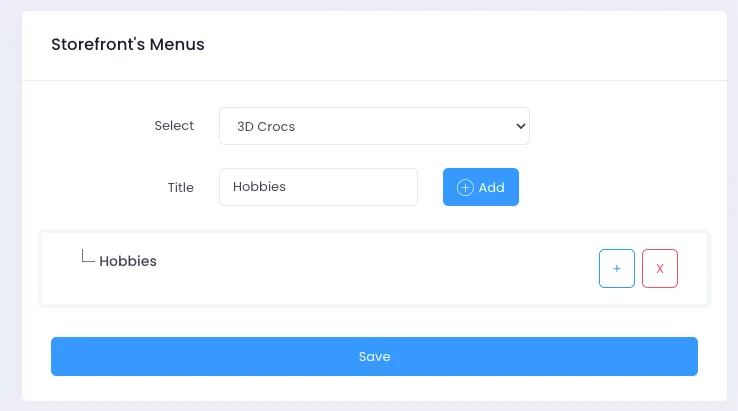
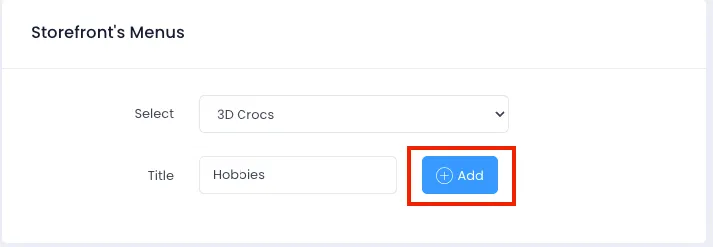
Step 3: Create a Main Menu
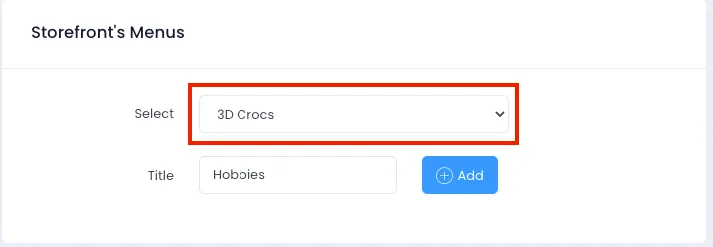
Section titled “Step 3: Create a Main Menu”- Select a category you want to link.
- Enter the display title for the menu.
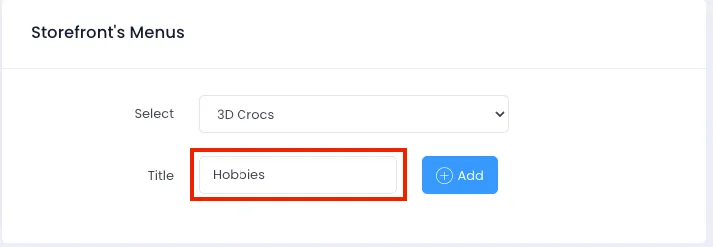
- Click the “Add” button to add the menu to the list.
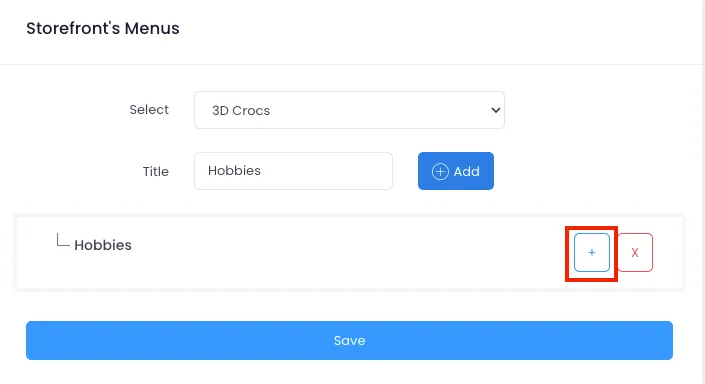
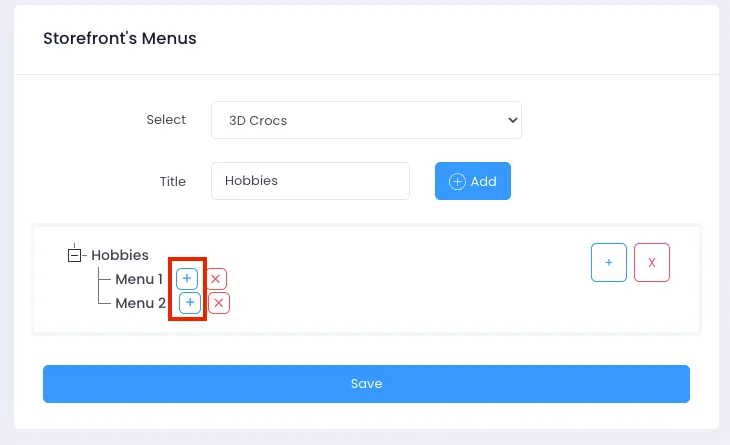
Step 4: Add a Sub-menu
Section titled “Step 4: Add a Sub-menu”From the parent menu you just created, click the ➕ icon to open the add sub-menu dialog.
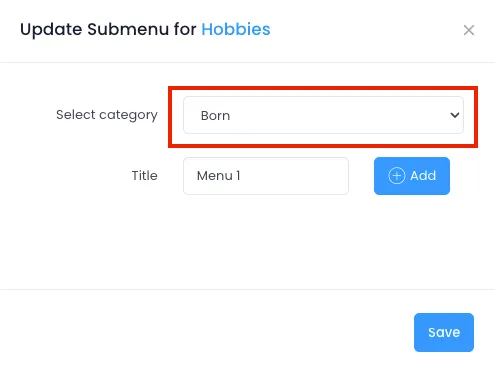
Step 5: Create a Sub-menu
Section titled “Step 5: Create a Sub-menu”- In the dialog shown, select the category you want to add.
- Enter the title for the sub-menu.
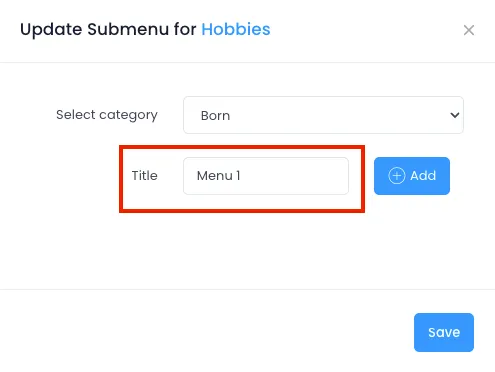
- Click “Add” to add the sub-menu. You can add multiple sub-menus in sequence.
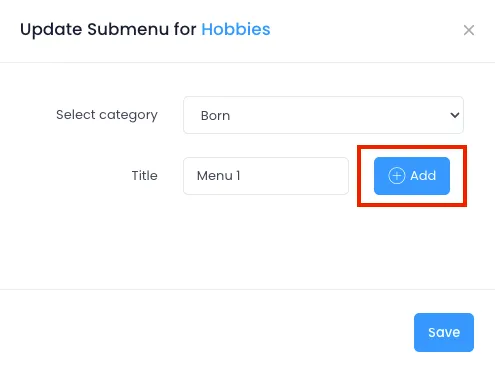
- When done, click “Save” to close the sub-menu dialog.

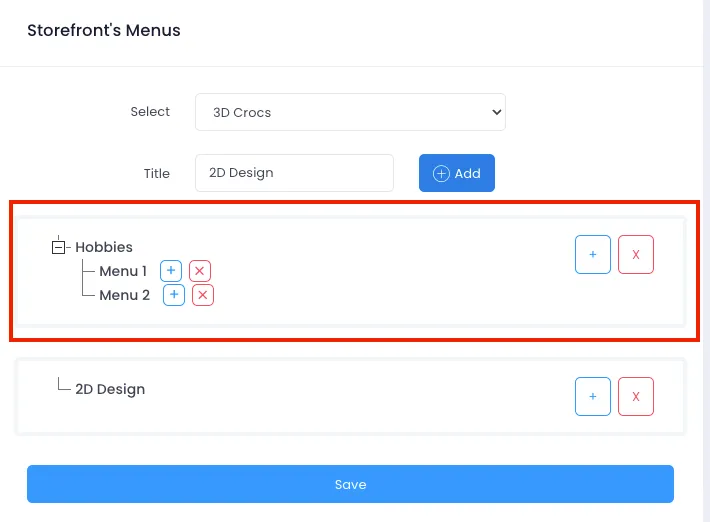
Step 6: Create multi-level menus
Section titled “Step 6: Create multi-level menus”After adding, the sub-menu will appear below the parent menu. To create deeper menu levels, click the corresponding ➕ icon and repeat the steps above.
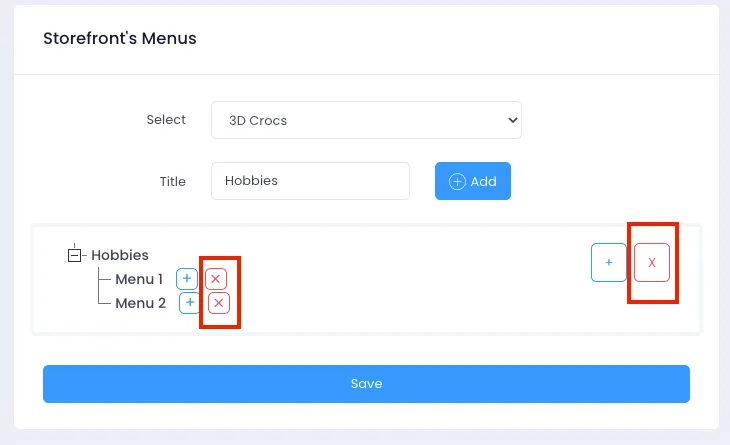
Step 7: Delete a Menu
Section titled “Step 7: Delete a Menu”To remove any menu, click the corresponding ❌ icon to delete it from the list.
Step 8: Reorder Menus
Section titled “Step 8: Reorder Menus”You can change the display order of menus by clicking, holding, and dragging them to the desired position.
Step 9: Save your changes
Section titled “Step 9: Save your changes”When you’re done adding, editing, or deleting menus, click the “Save” button to save your changes. These menus will appear in the navigation bar on your store’s homepage.
Properly configuring Storefront’s Categories and Storefront’s Menus not only makes your store more professional but also enhances the shopping experience for your customers. Use these features to organize your content effectively, provide clear navigation, and make it easy for customers to discover the products you want to highlight. If you run into any issues, don’t hesitate to contact the support team for detailed guidance. Good luck optimizing your store and growing your sales!