Creating an Inflated Effect in Adobe Illustrator 2024
To create an Inflated effect in Adobe Illustrator 2024 (AI 2024), your design must meet the following requirements:
- All objects in the design must be vector-based, sharp, and high quality - no jagged edges or blurring from background removal
- No gradient effects
Step 1: Separate design elements into individual layers in AI (skip if you designed directly in AI)
Section titled “Step 1: Separate design elements into individual layers in AI (skip if you designed directly in AI)”- Open your design file in AI
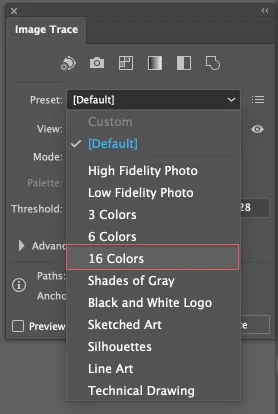
- Go to Window, select Image Trace
- When the Image Trace panel appears, select 16 Colors from the Preset dropdown, then wait a moment for AI to process
- Go to Object, select Image Trace, then choose Expand
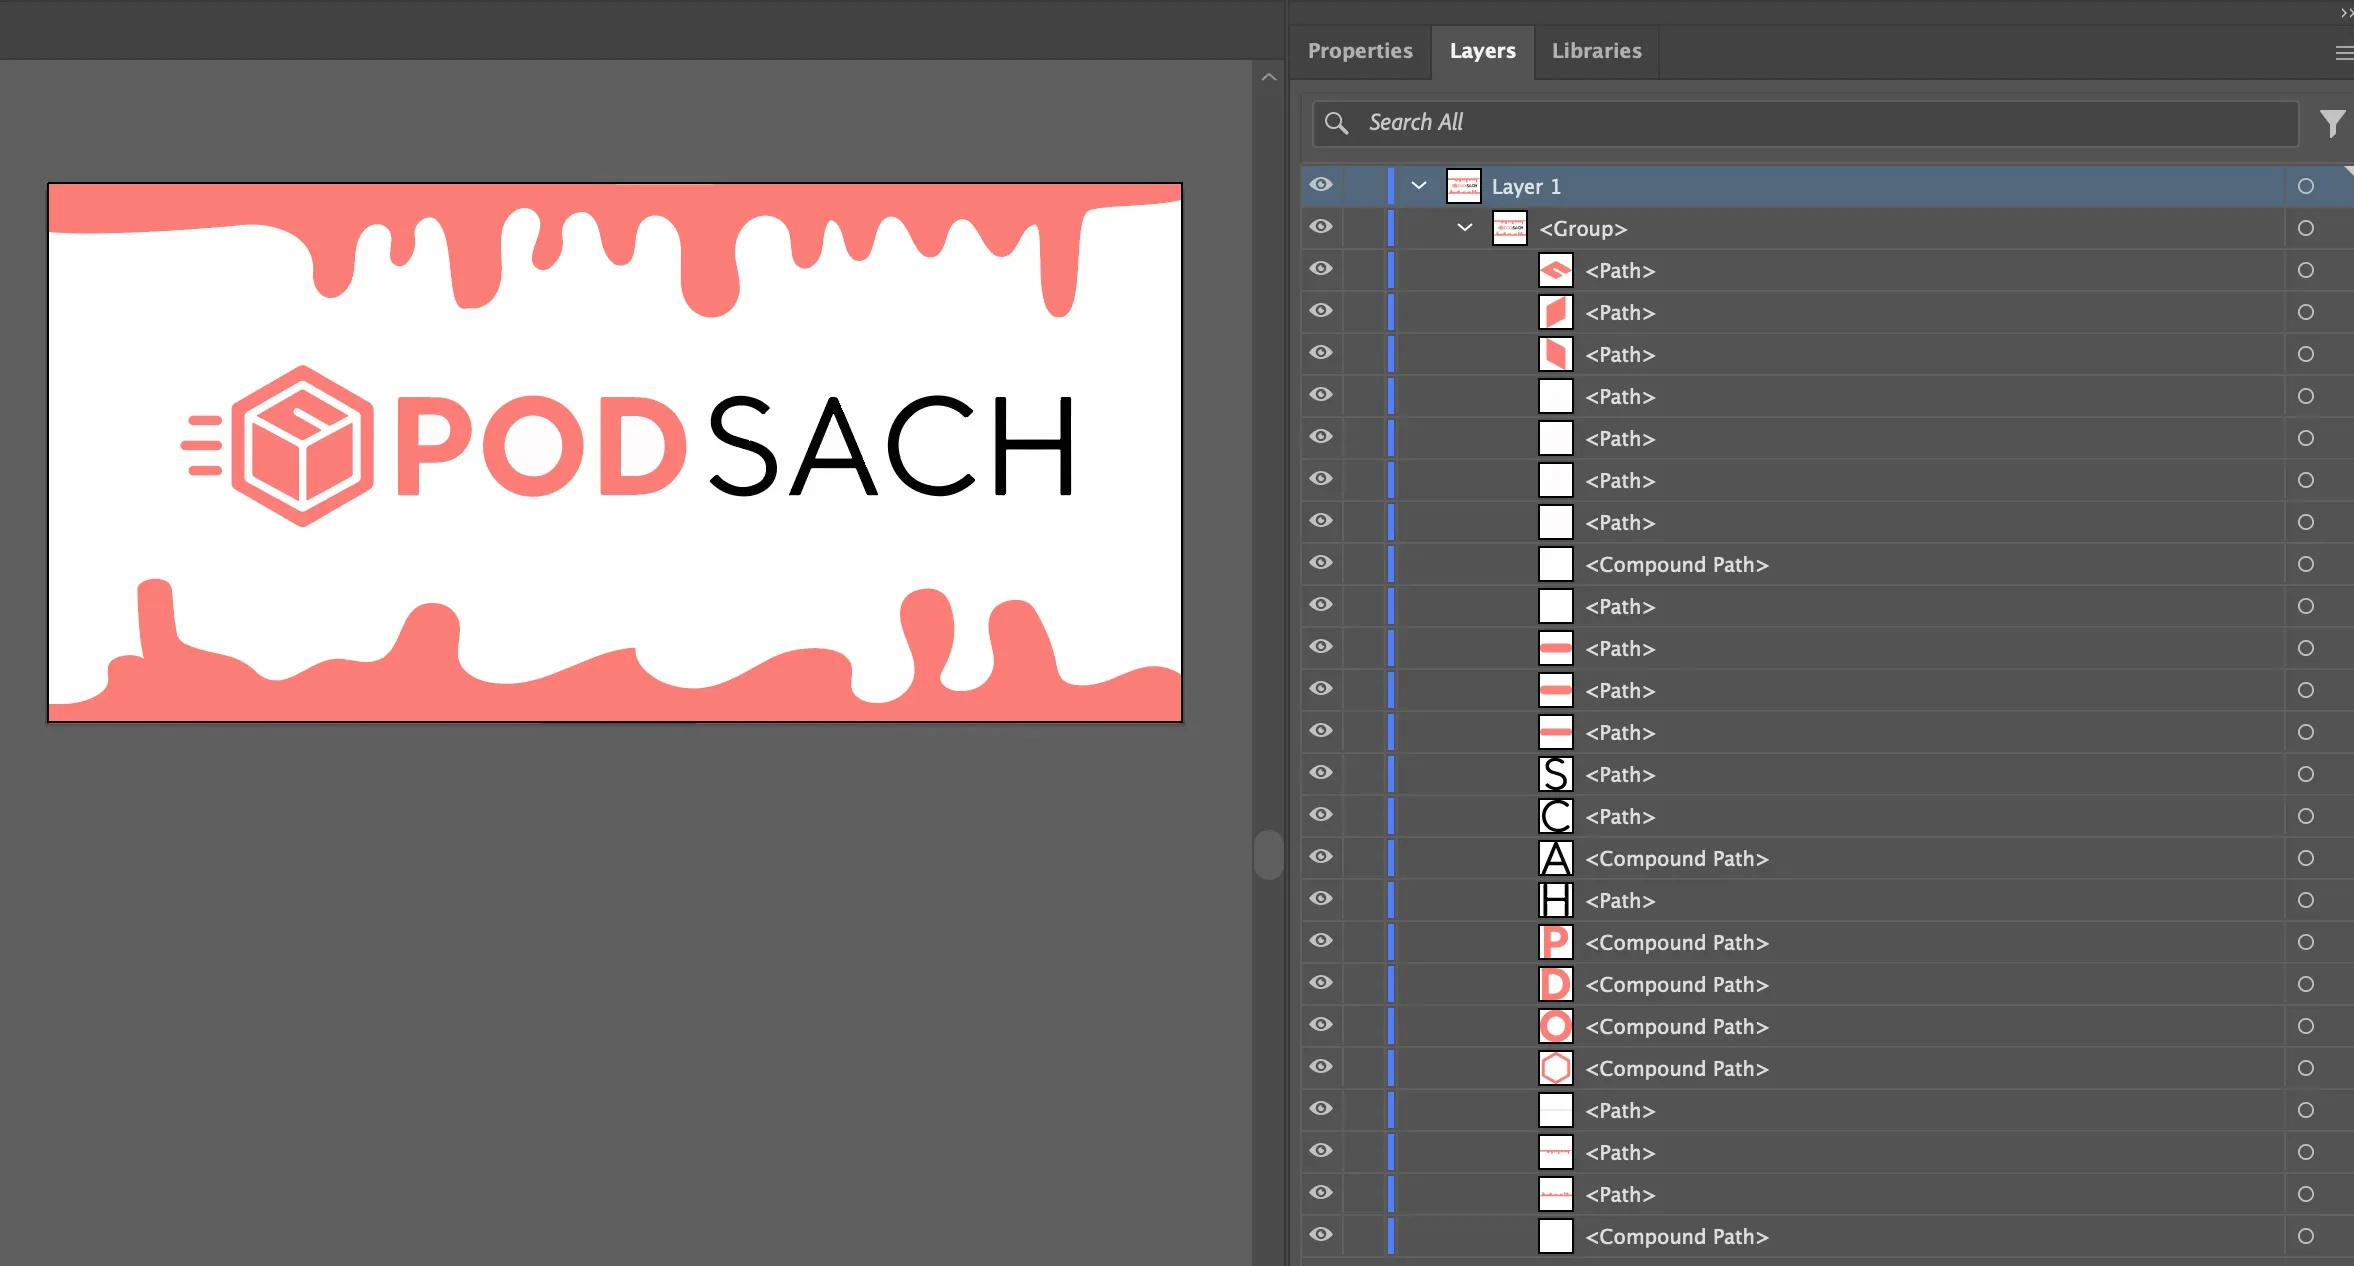
AI will automatically separate all objects in your design into individual layers, as shown below:
Step 2: Apply the Inflated effect
Section titled “Step 2: Apply the Inflated effect”- Select all layers created in Step 1
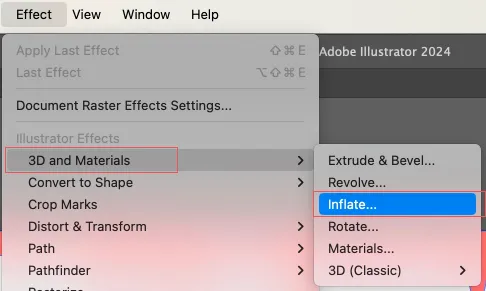
- Go to Effect, select 3D and Materials, then choose Inflate
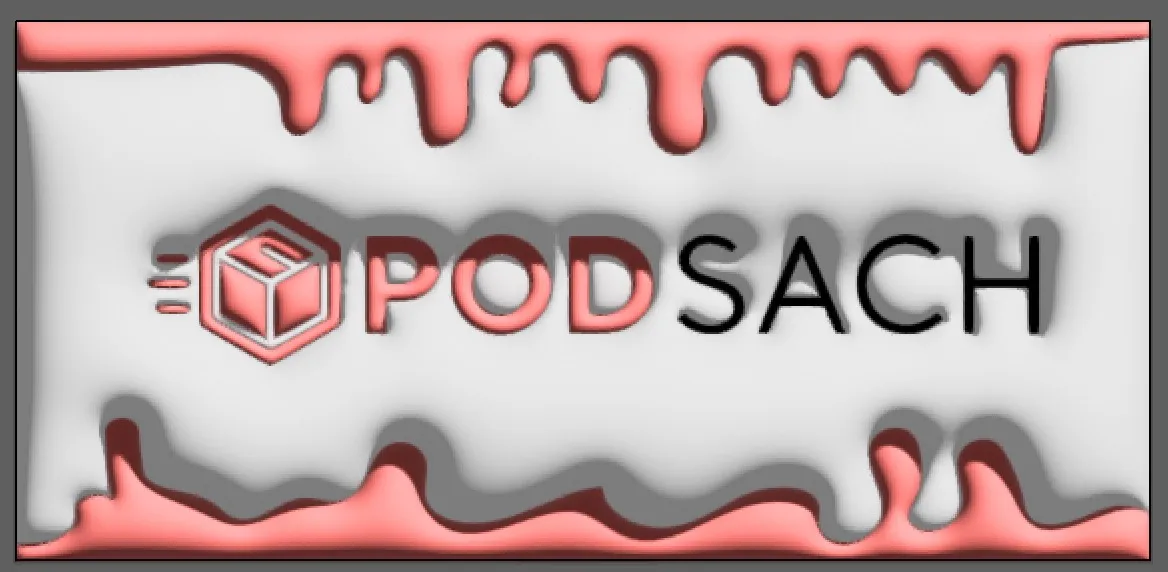
Wait for AI to process - the result will look like the image below:
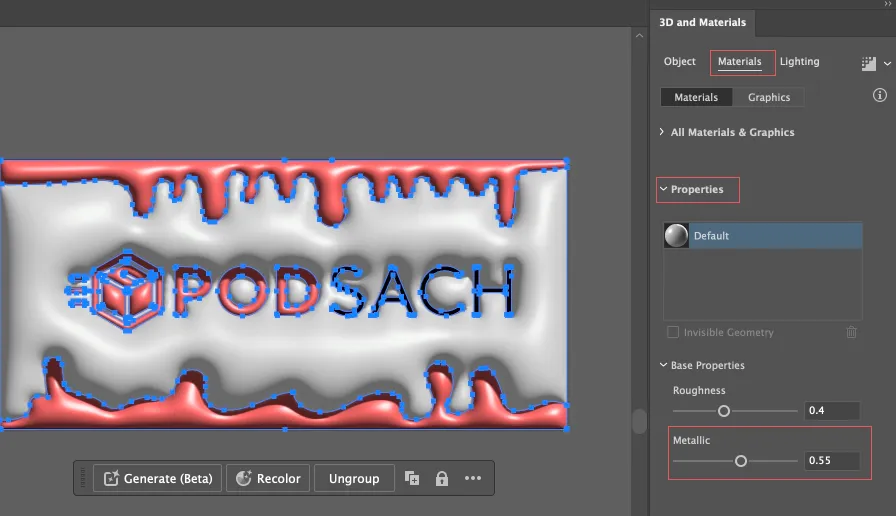
- In the 3D and Materials toolbar, select Materials, expand the Properties section, and increase the Metallic value to give your design a shinier look. The result will look like the image below:

You can also adjust other values under the Object and Lighting sections within the 3D and Materials tool to fine-tune your design further.